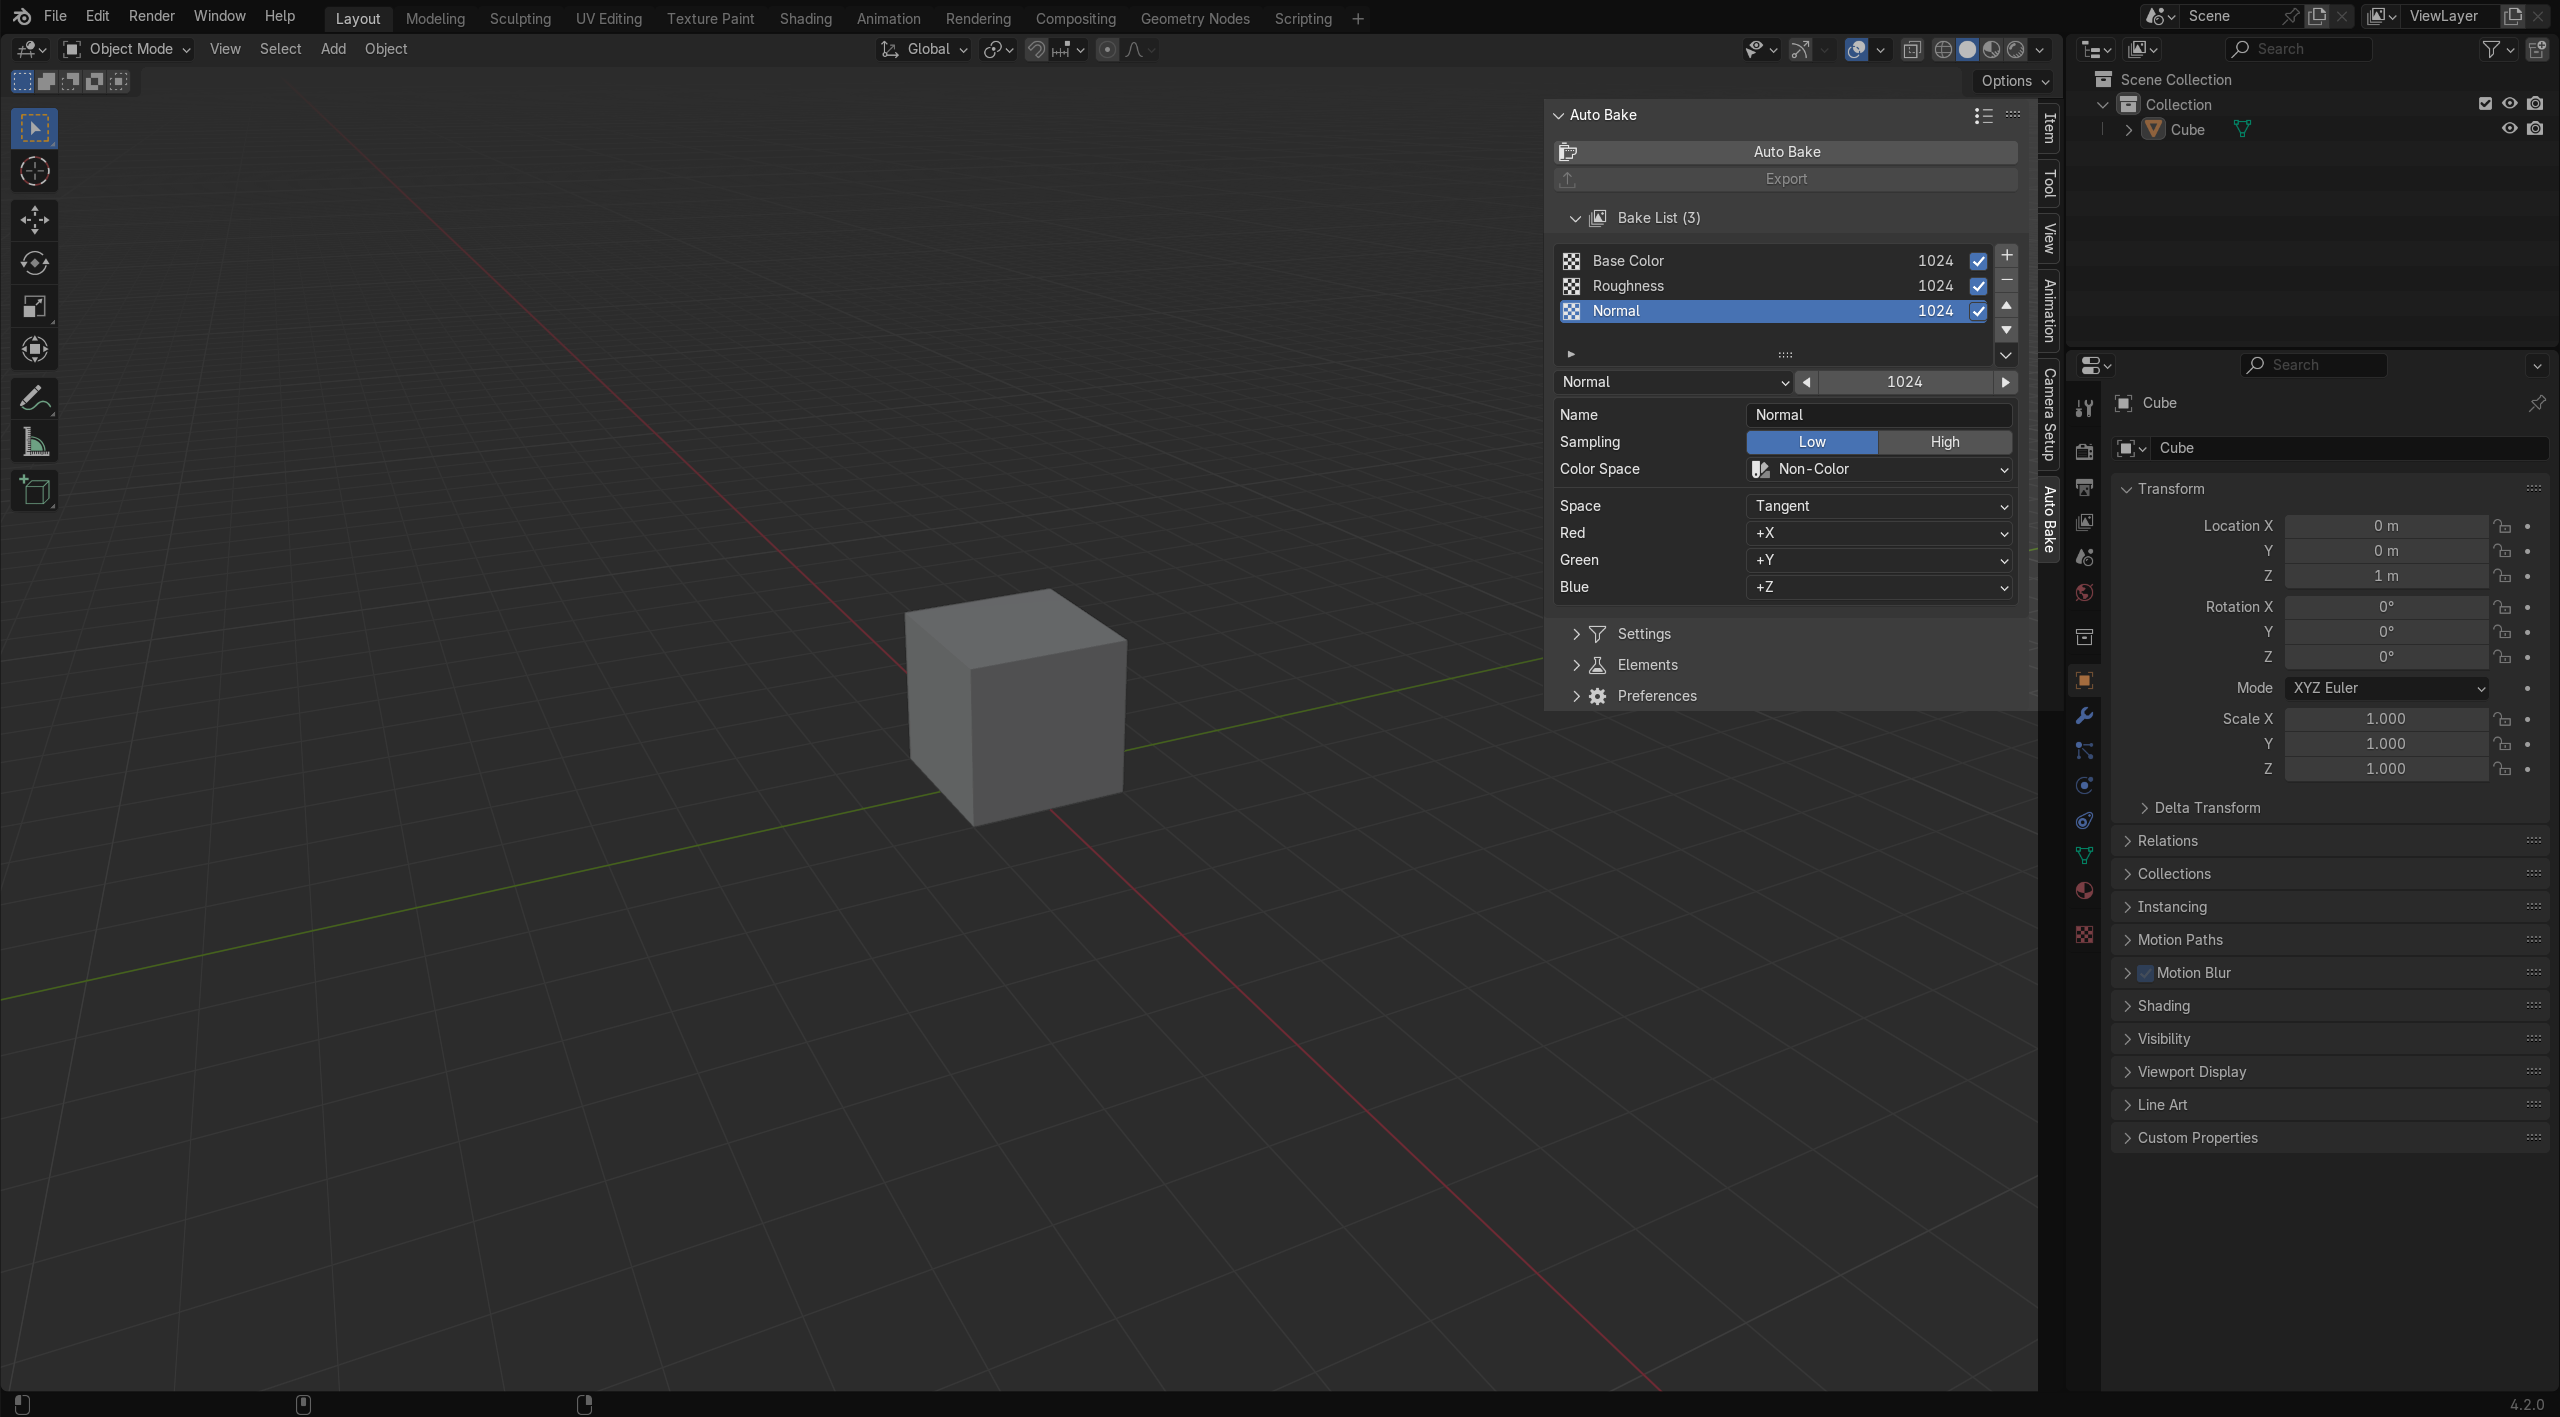
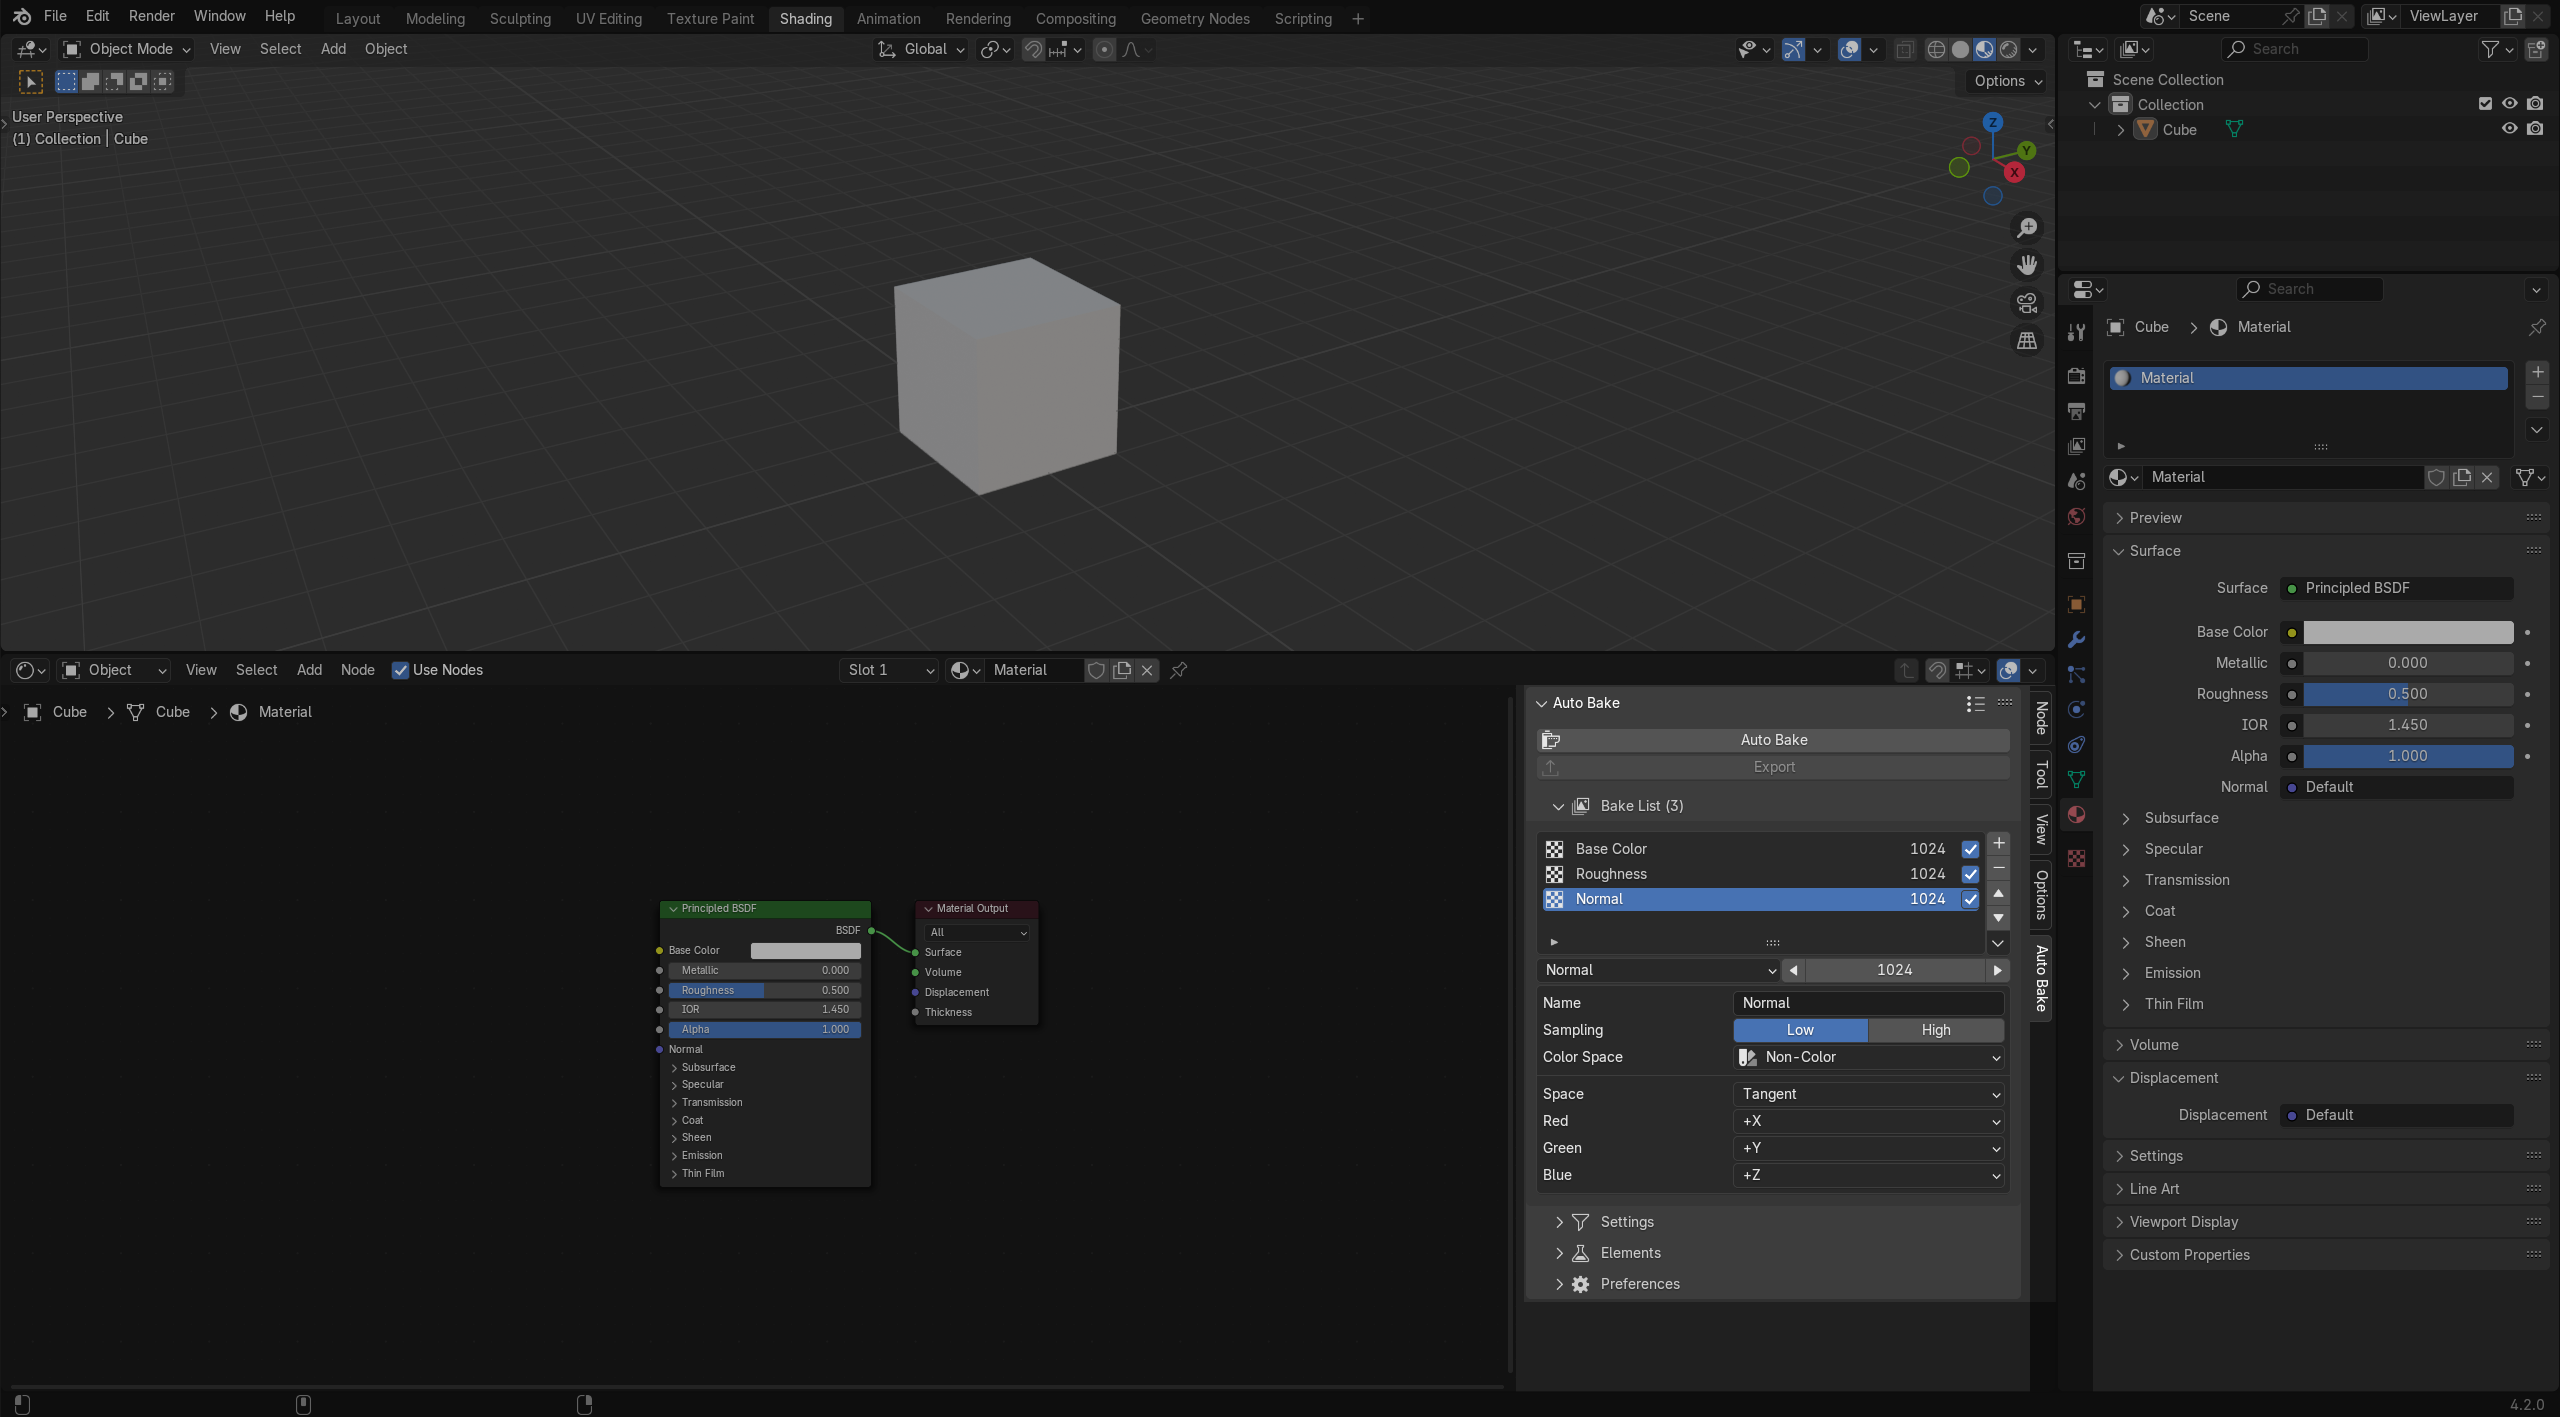
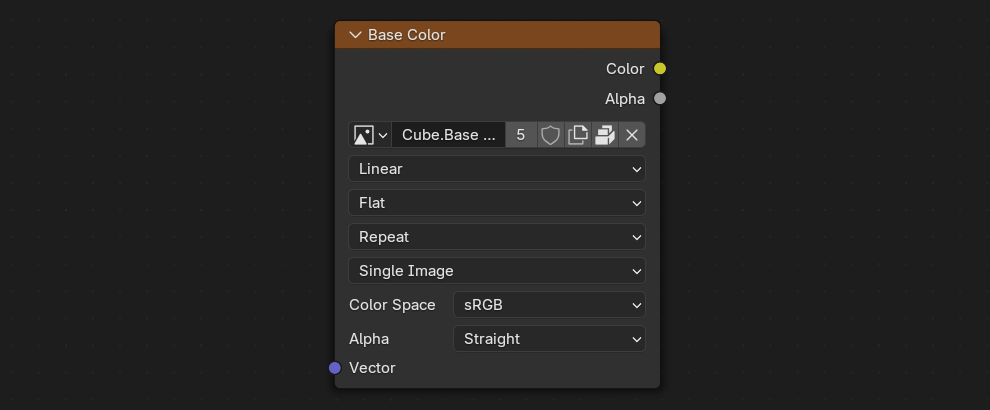
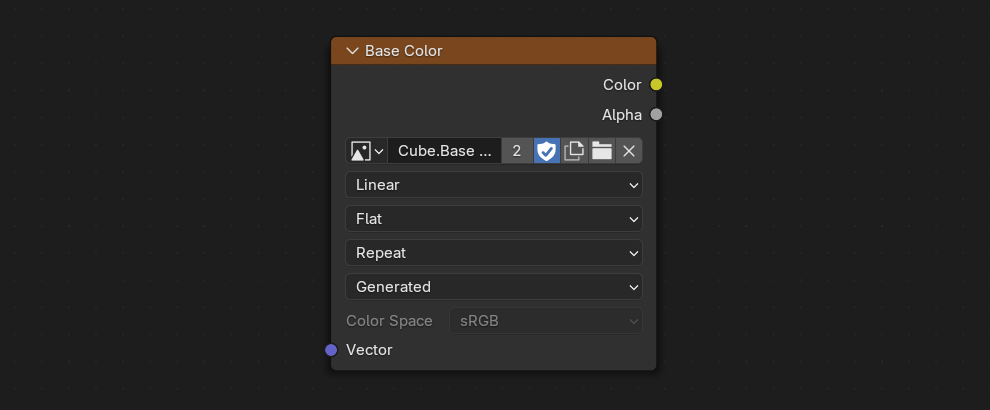
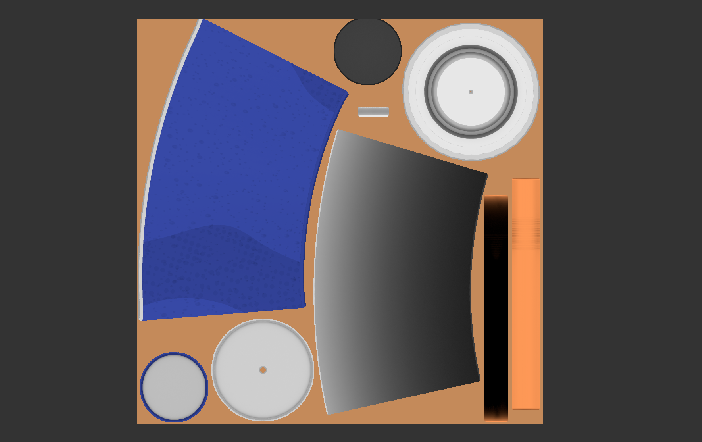
Bake a wide range of texture maps, preview them before baking, inspect the baked results, and export them along with their objects. Apply the baked textures with automatic material and object setup. Bake UDIM and atlas textures, apply anti-aliasing, and channel pack textures. Generate new UVs, target specific UV maps, and remove unused ones. Bake from source to target objects, create cage objects, visualize the extrusion, create custom presets and choose your prefered workspace!
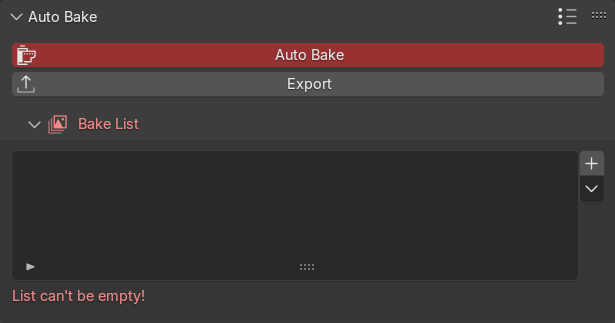
All buttons and options are equipped with tooltips, explaining their functions. Any misconfigured settings are highlighted and paired with a text alert that provides instructions on what to do. A dedicated online documentation page is also available, along with video tutorials on YouTube for further guidance.
Bake a wide variety of texture maps, including shader sockets, multiresolution modifier's normal and displacement data, Blender's default bake passes, and adjustable miscellaneous maps such as edge, ID, gradient, bevel, curvature, ambient occlusion, and more!

Render

Base Color
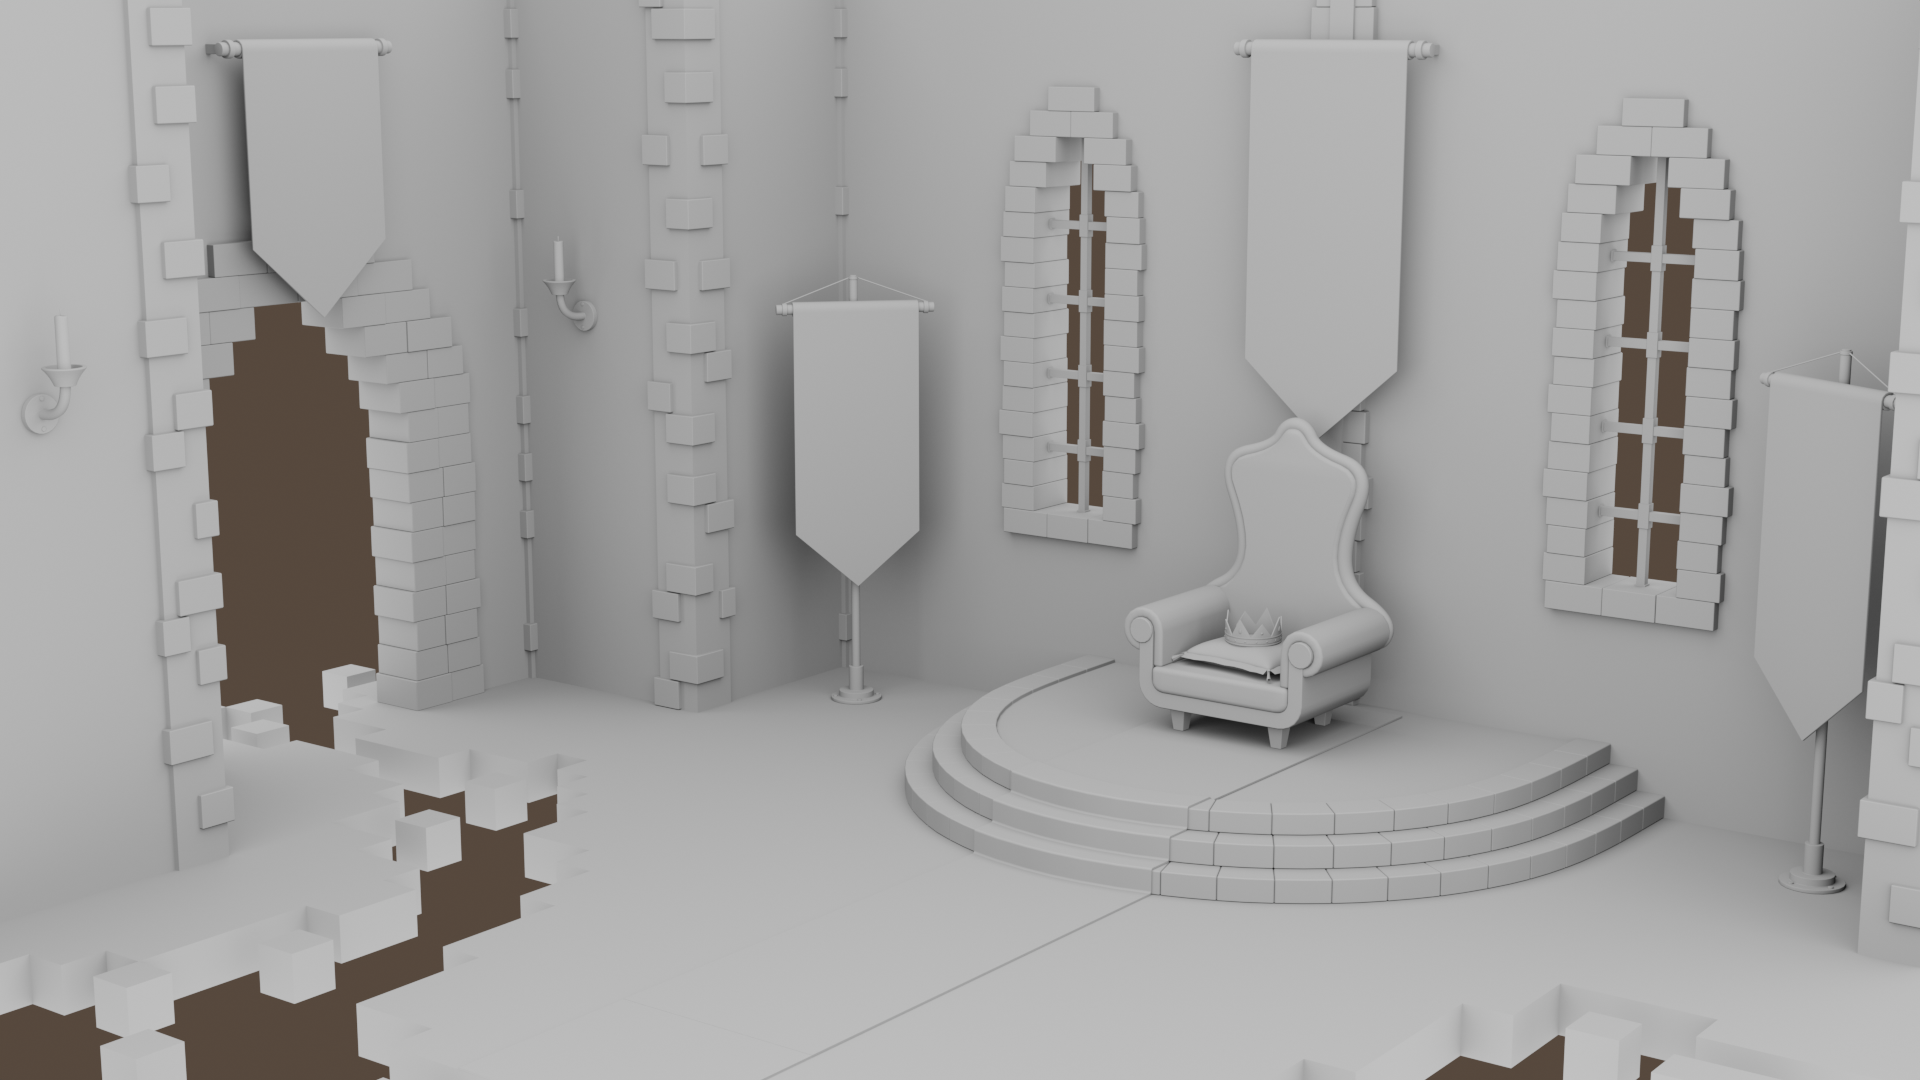
Ambient Occlusion

Normal
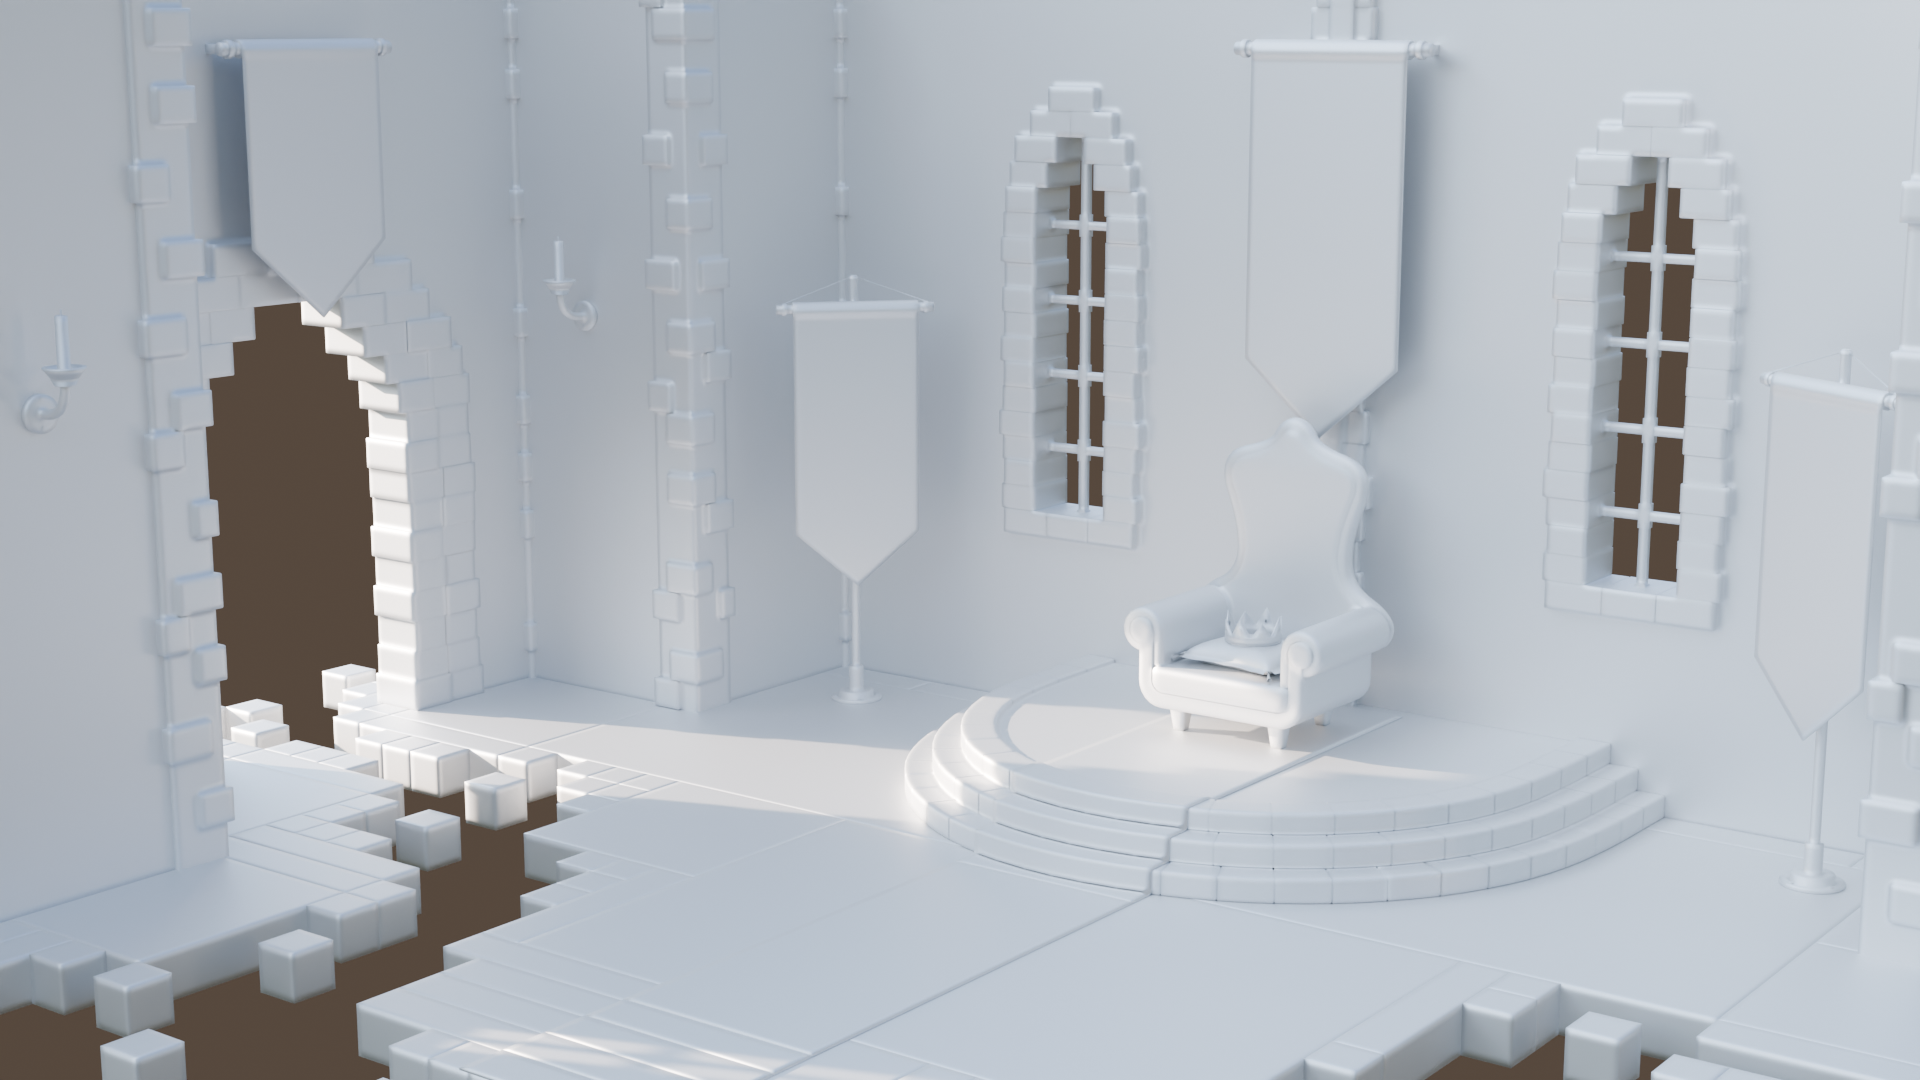
Bevel
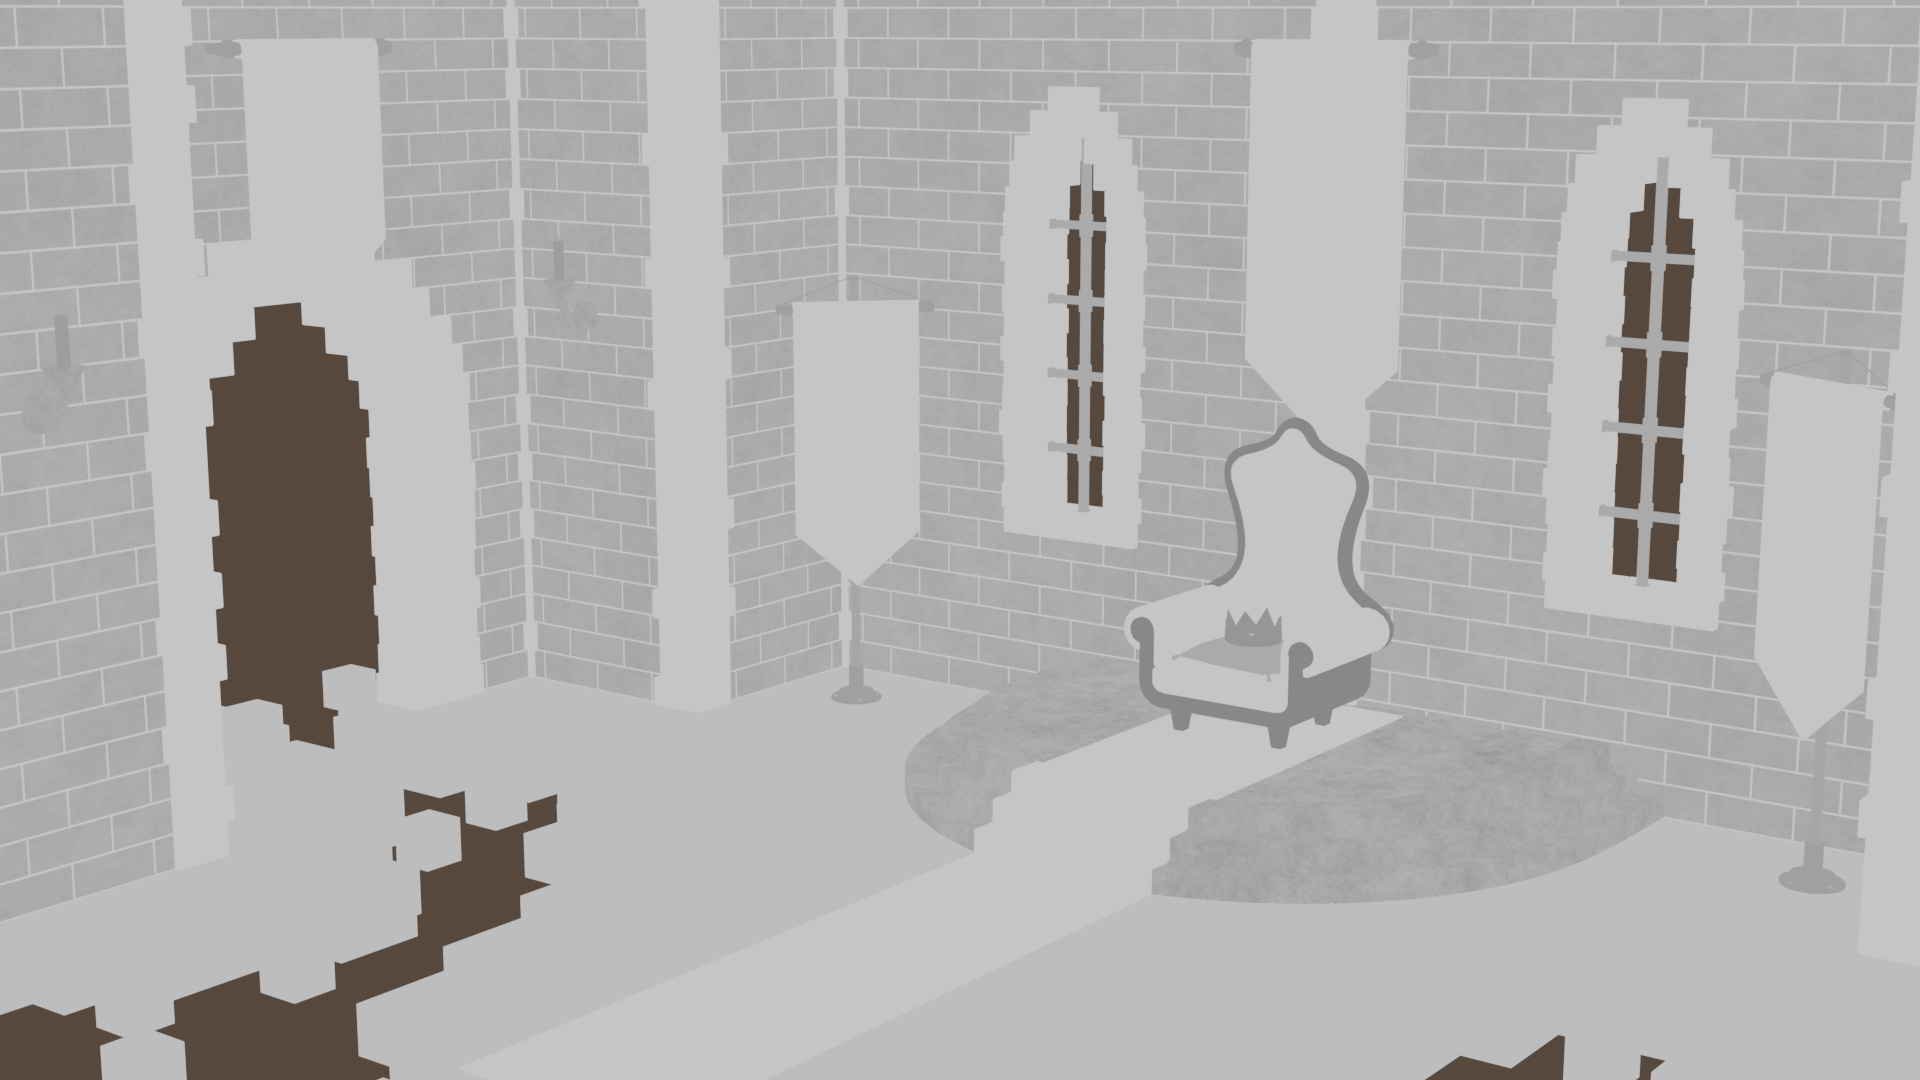
Roughness
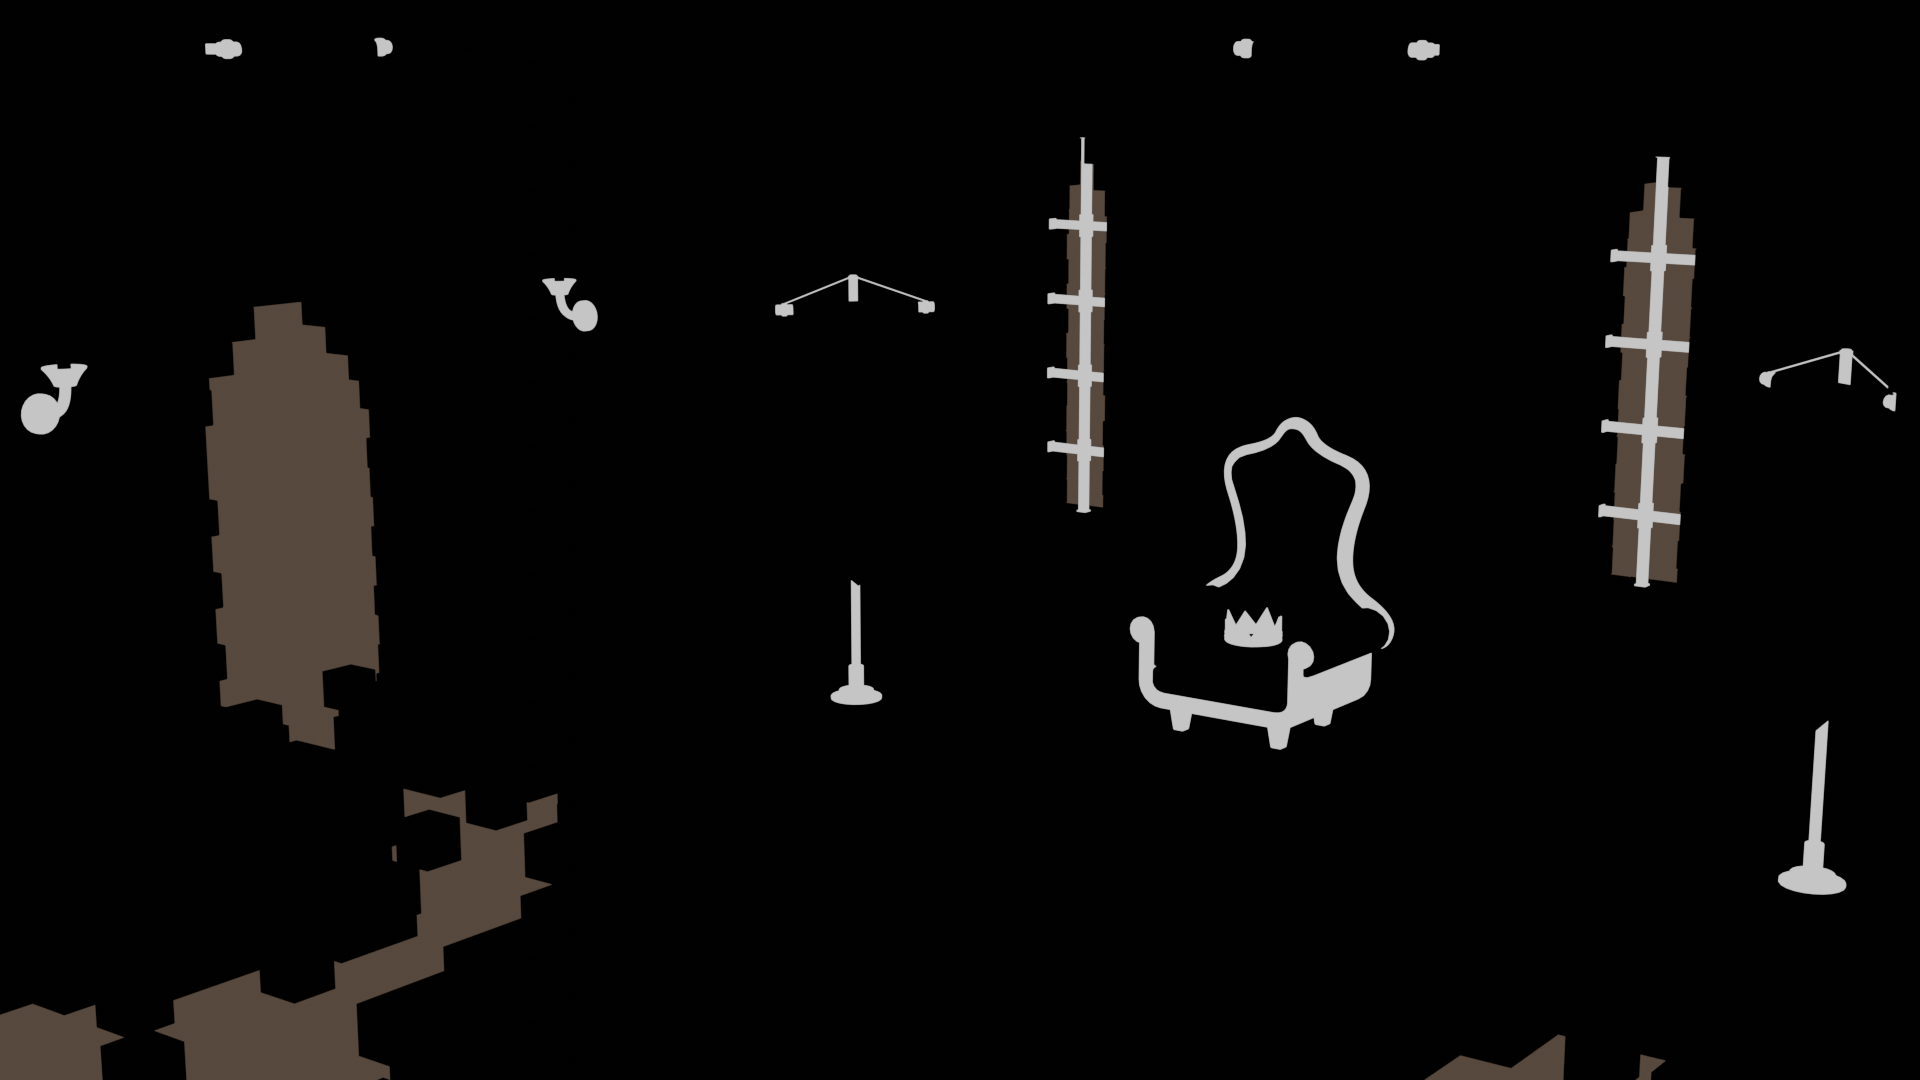
Metallic

Edge

Gradient (Z)
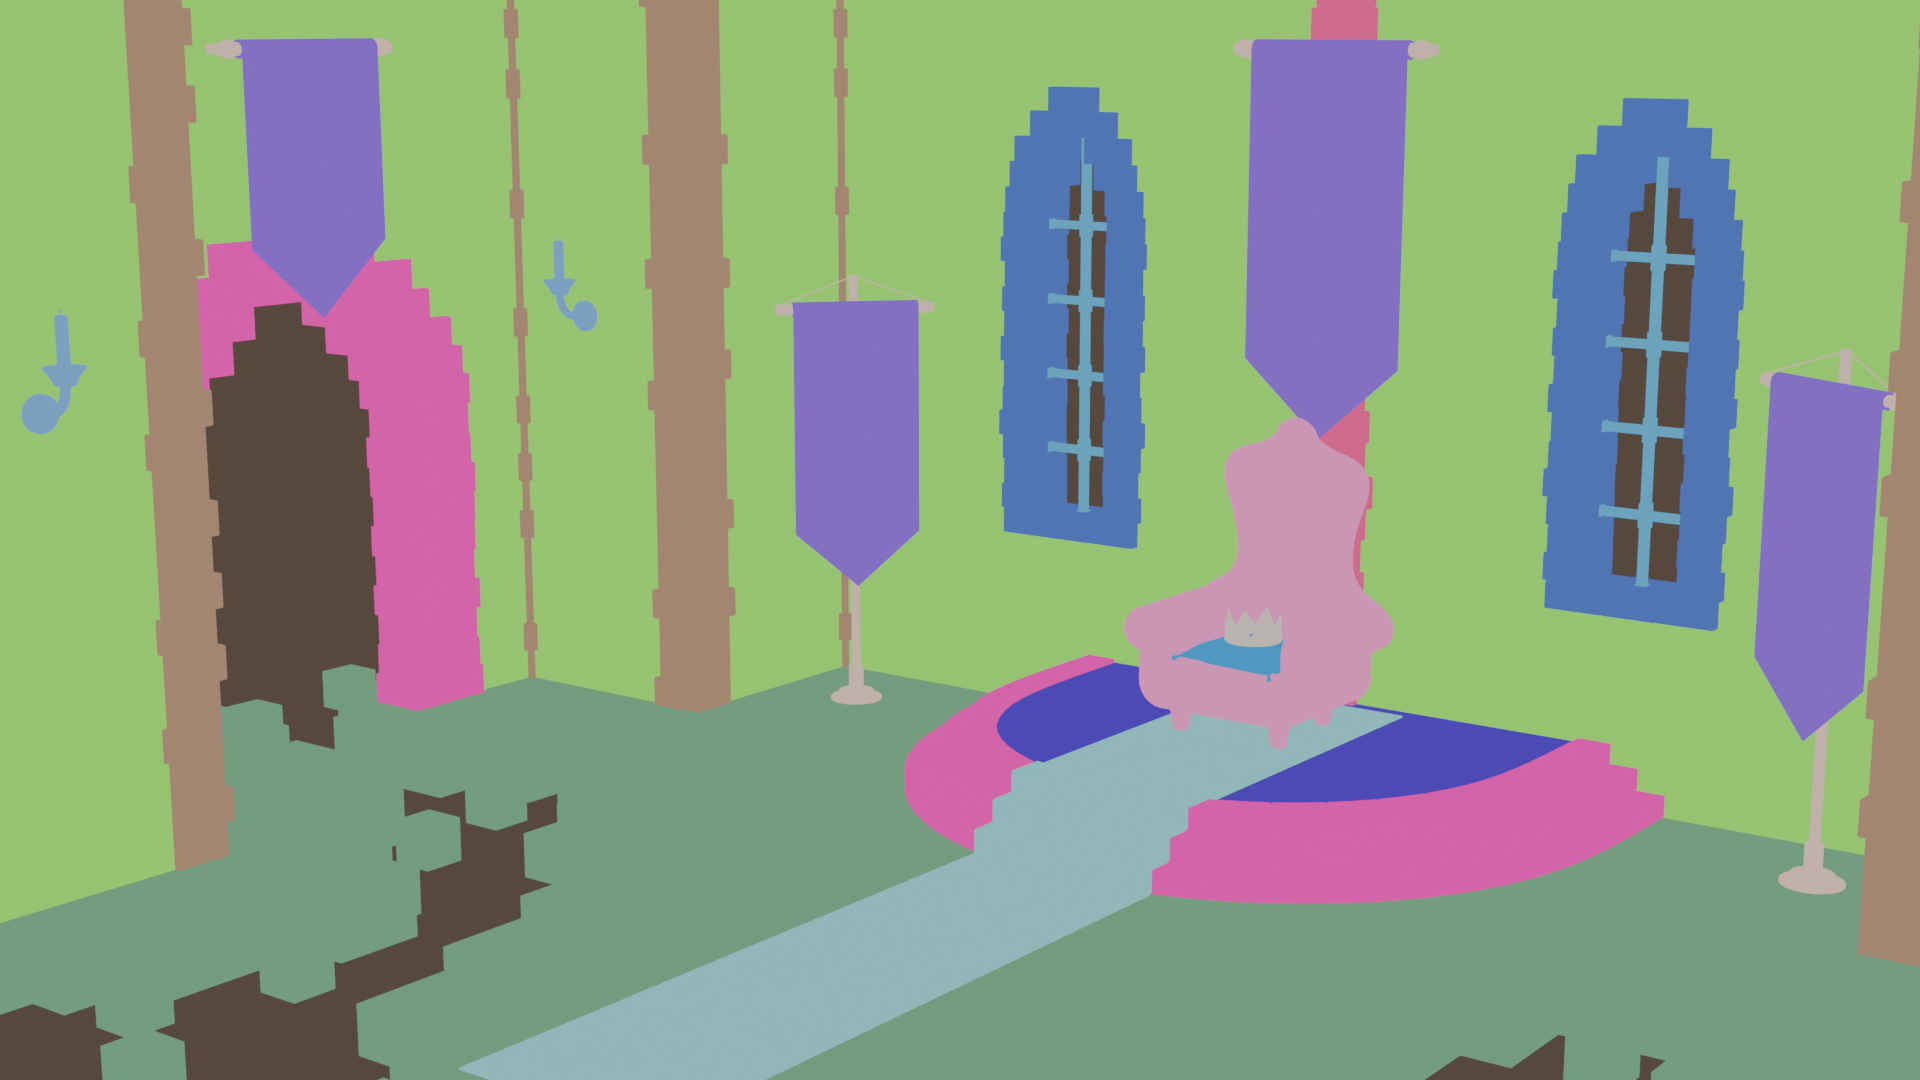
ID (Material)
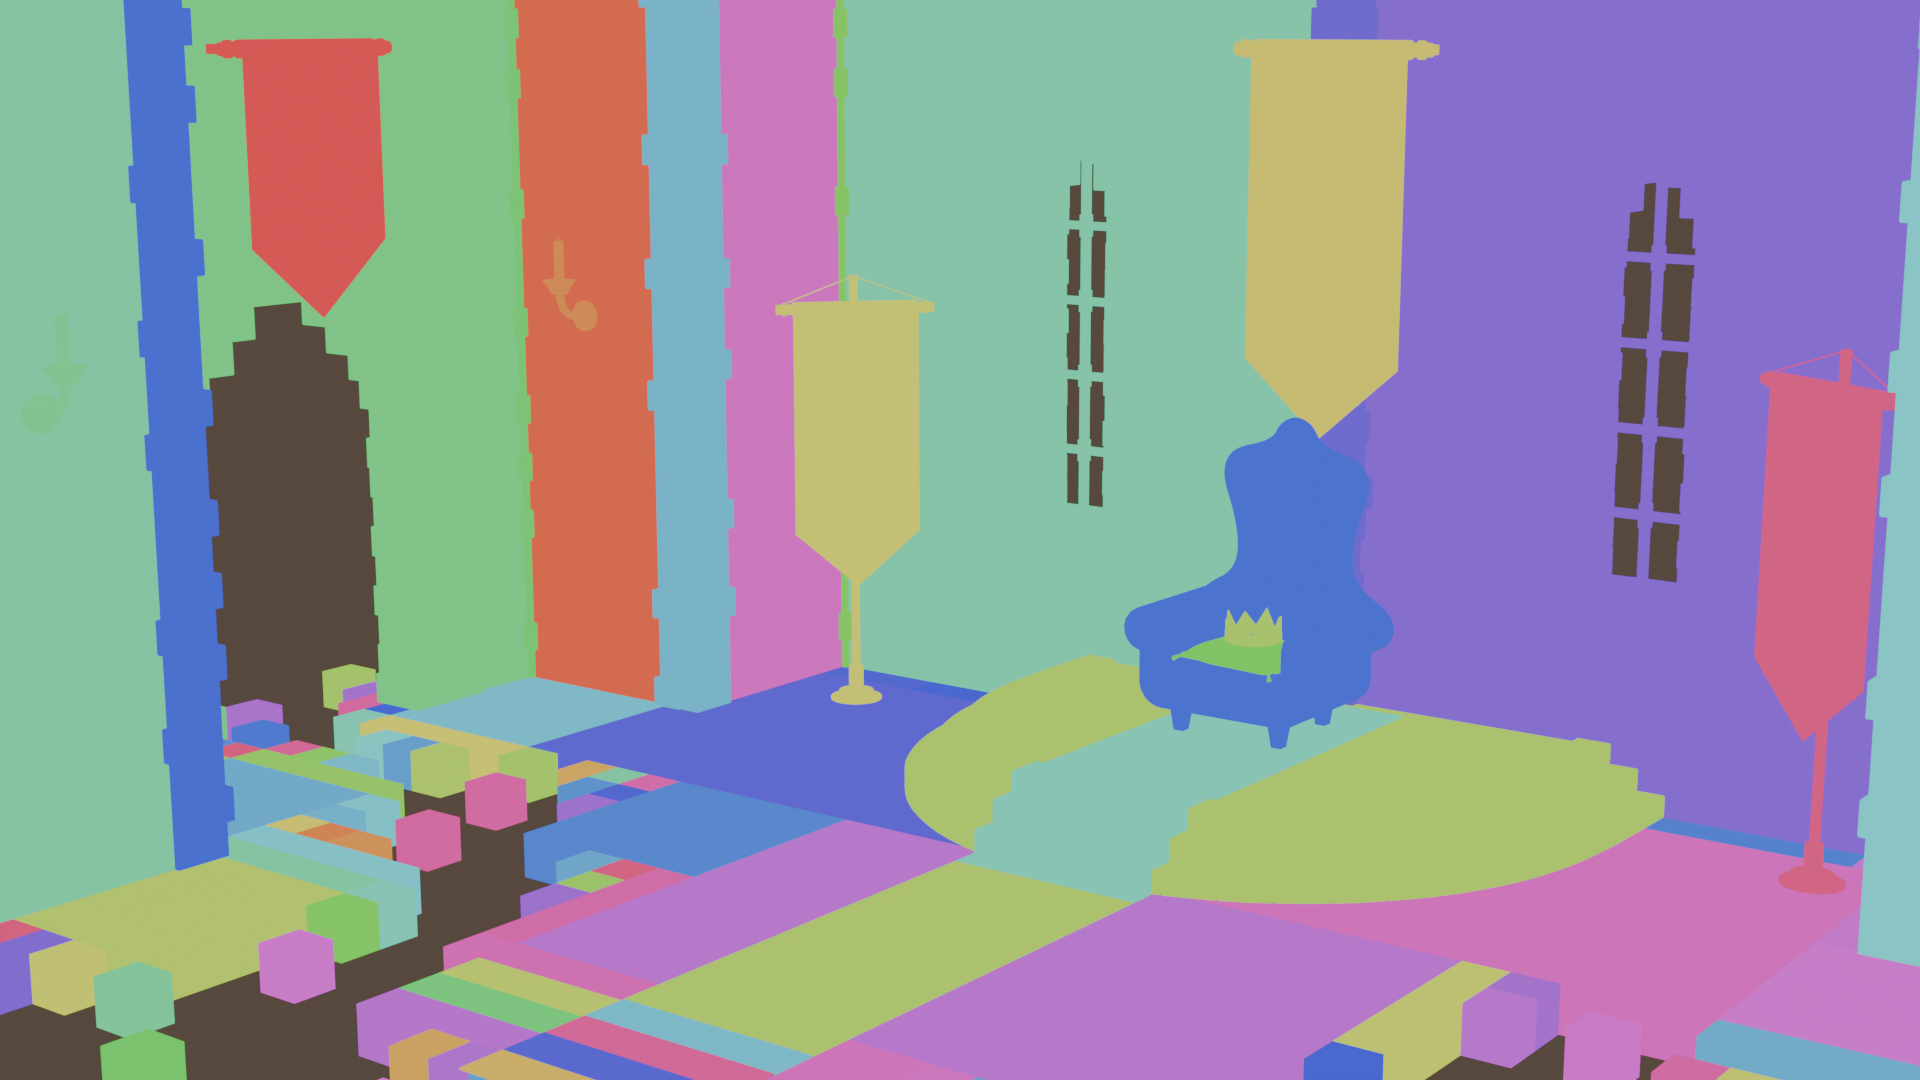
ID (Object)
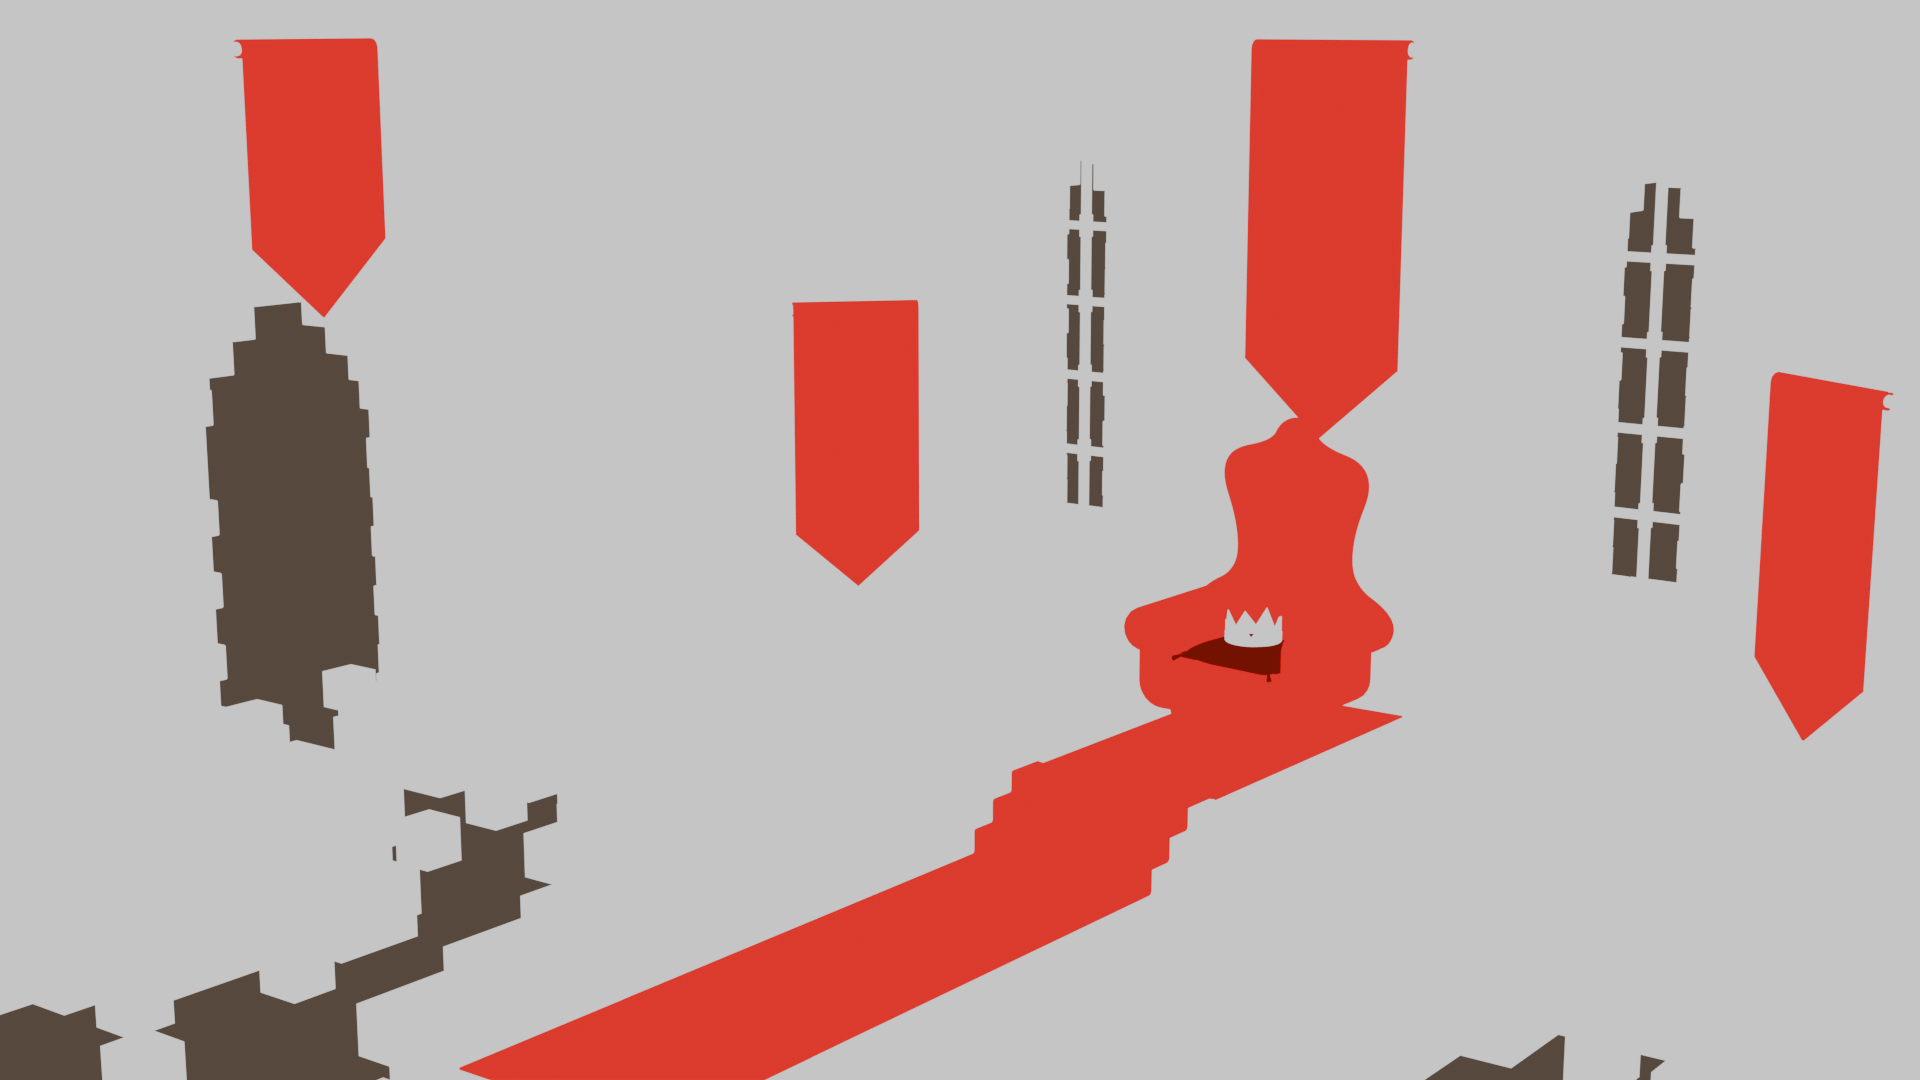
Sheen Tint
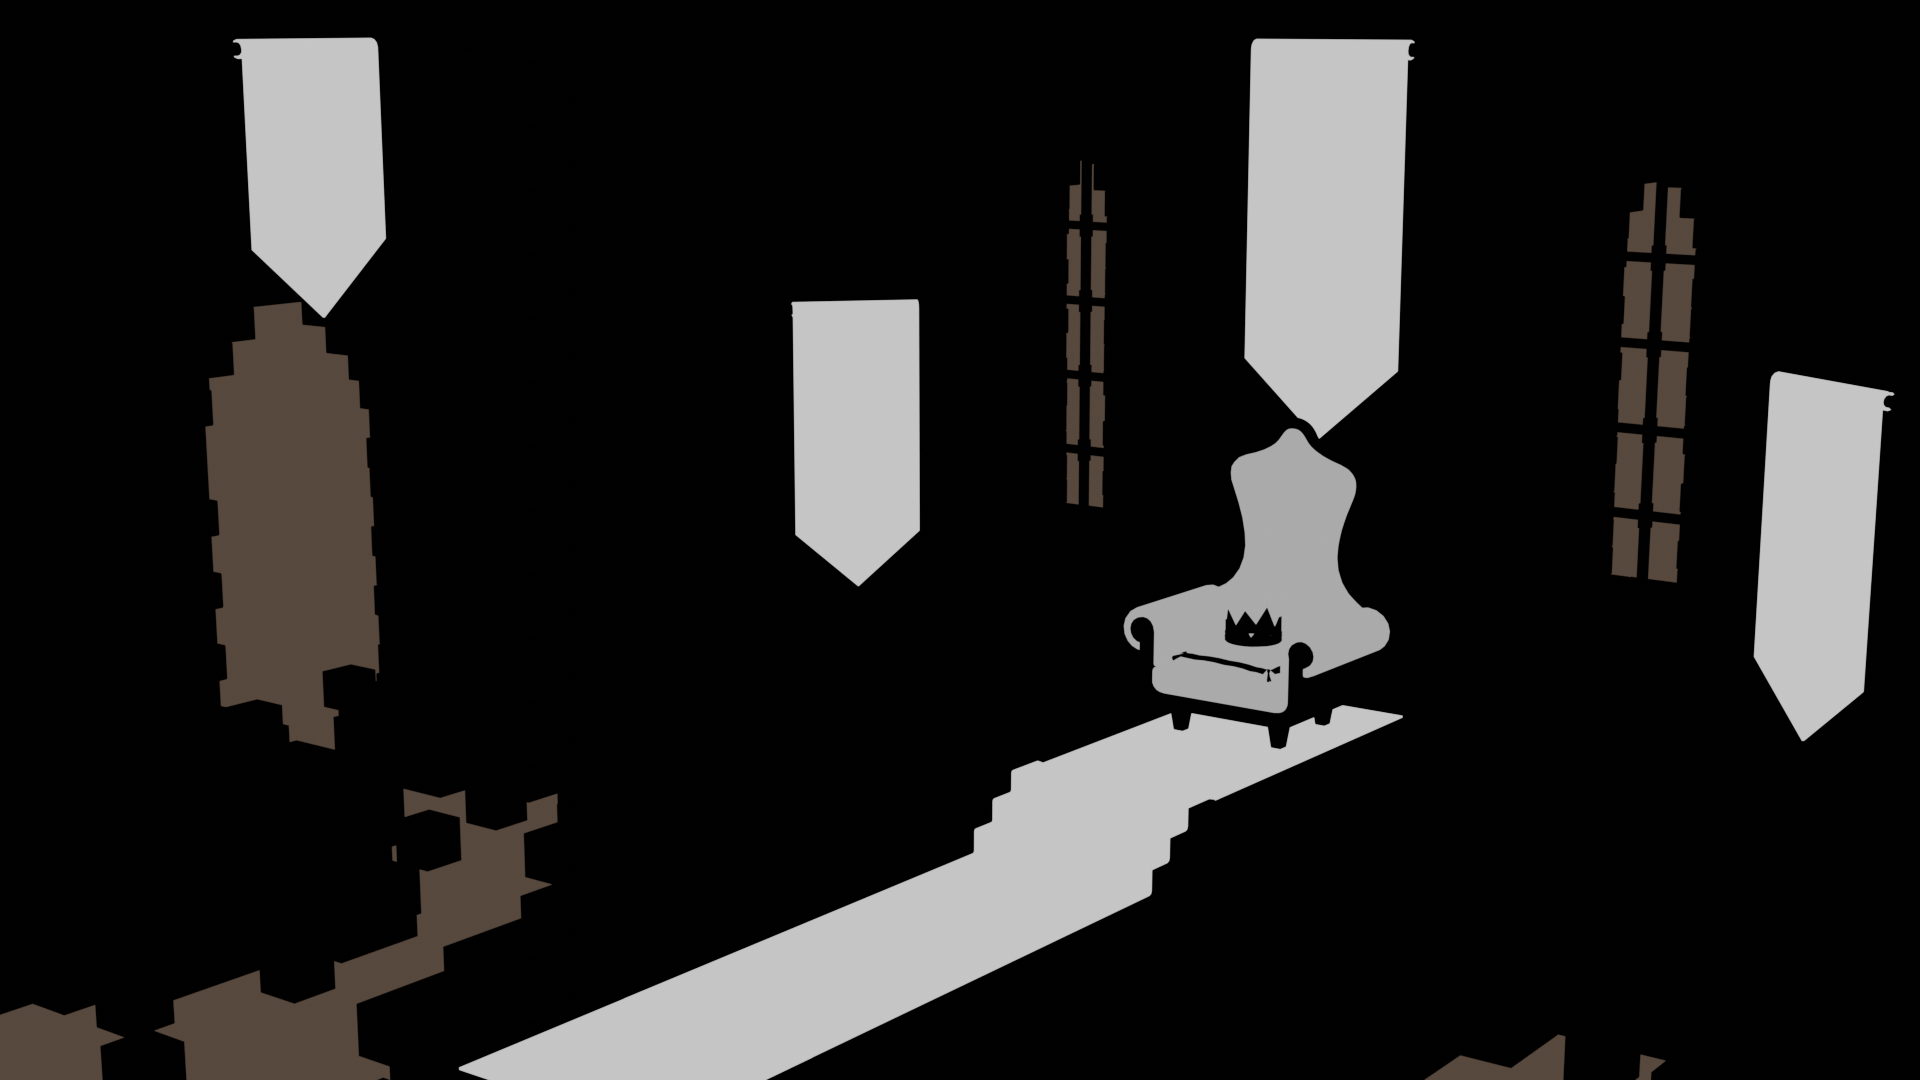
Sheen Weight
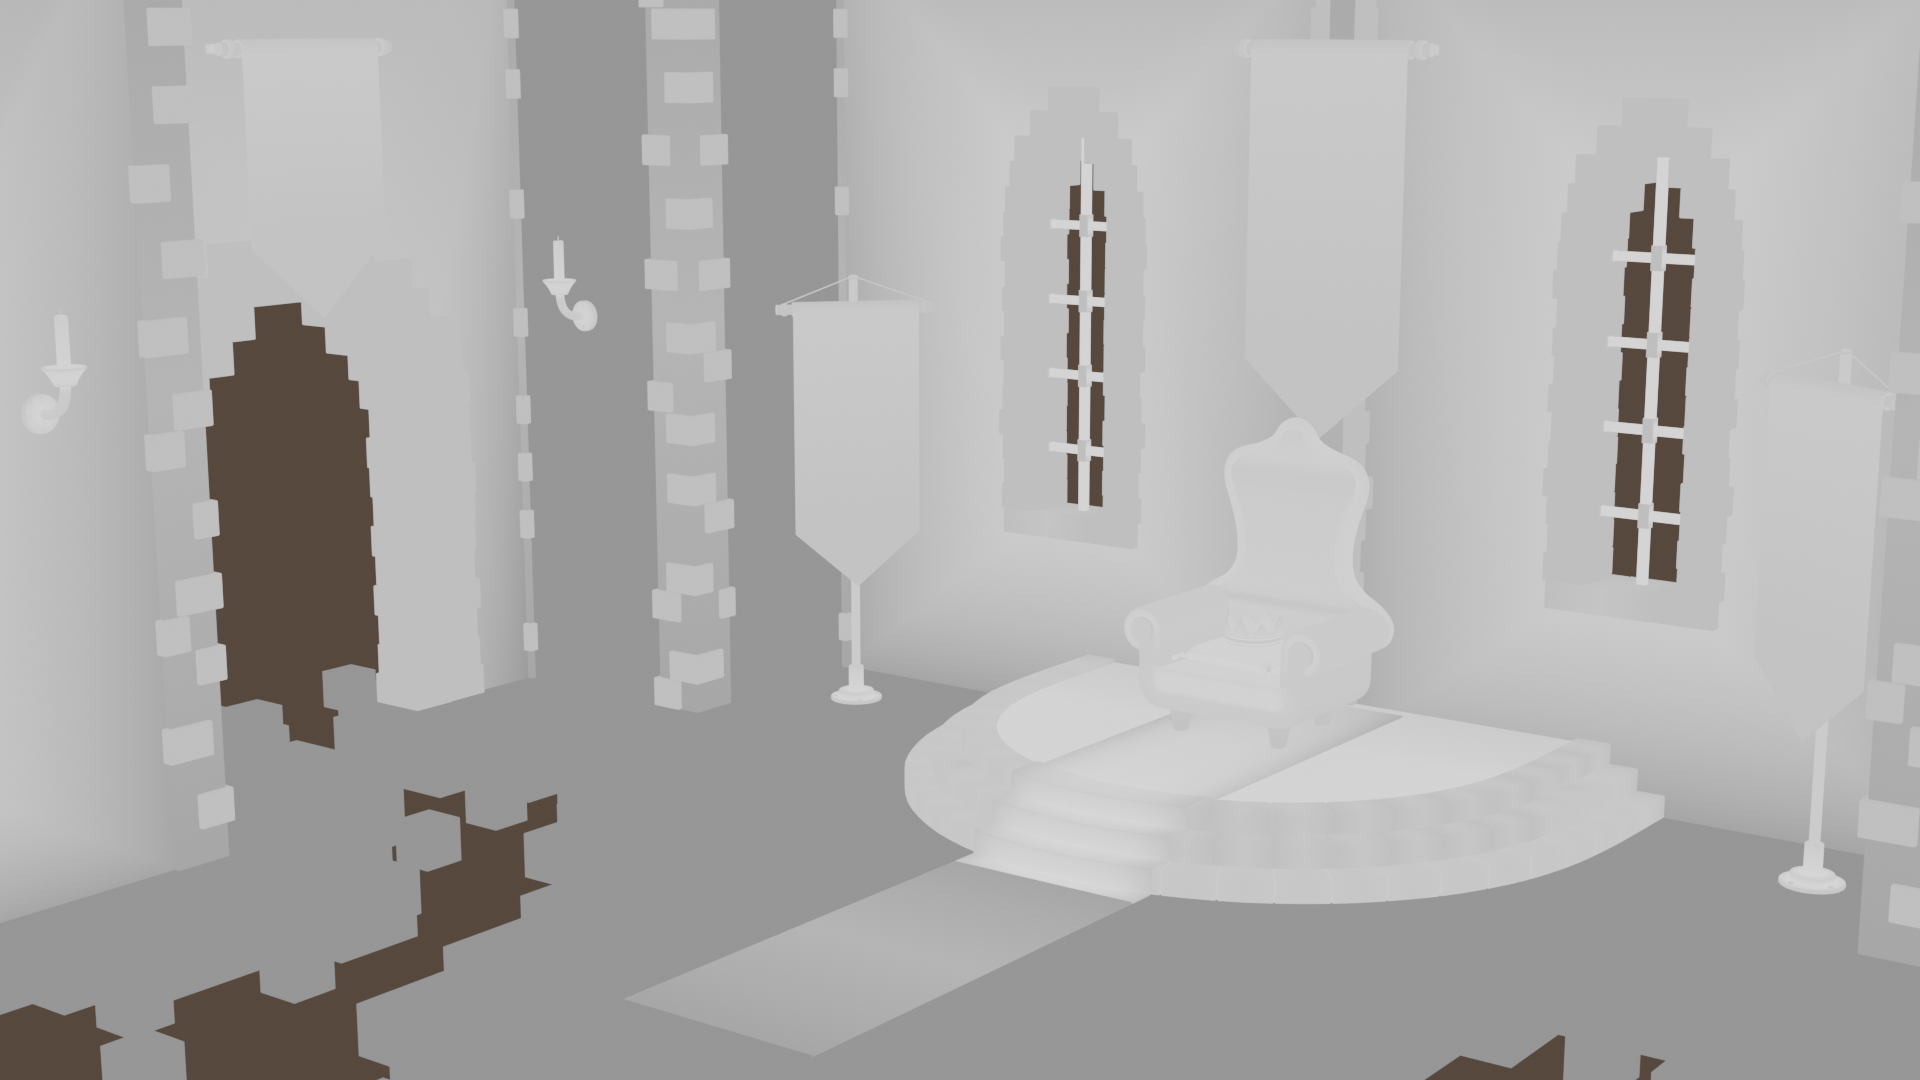
Curvature
❮
❯
Preview the texture maps before baking by selecting them in the viewport and enabling the preview from the bake list. The preview is available for all shader and miscellaneous bake maps.
Customize the texture maps with adjustable properties and view the changes in real-time while previewing them. Different texture maps offer varying options and properties to modify.
Pack multiple grayscale textures into a single RGB image using the channel packing bake map. Select any of the grayscale maps and choose which one to bake onto each of the three available RGB channels.
Apply anti-aliasing to the baked textures! Use the upscaled method for higher quality, though more resource-intensive, or the downscaled method for faster baking with a potential loss in detail. Both methods can be adjusted for both the upscale and downscale rates.
Bake multiple objects onto shared textures with a single option, rather than baking each object onto its own separate textures. This method allows atlas baking without the need to merge the objects.
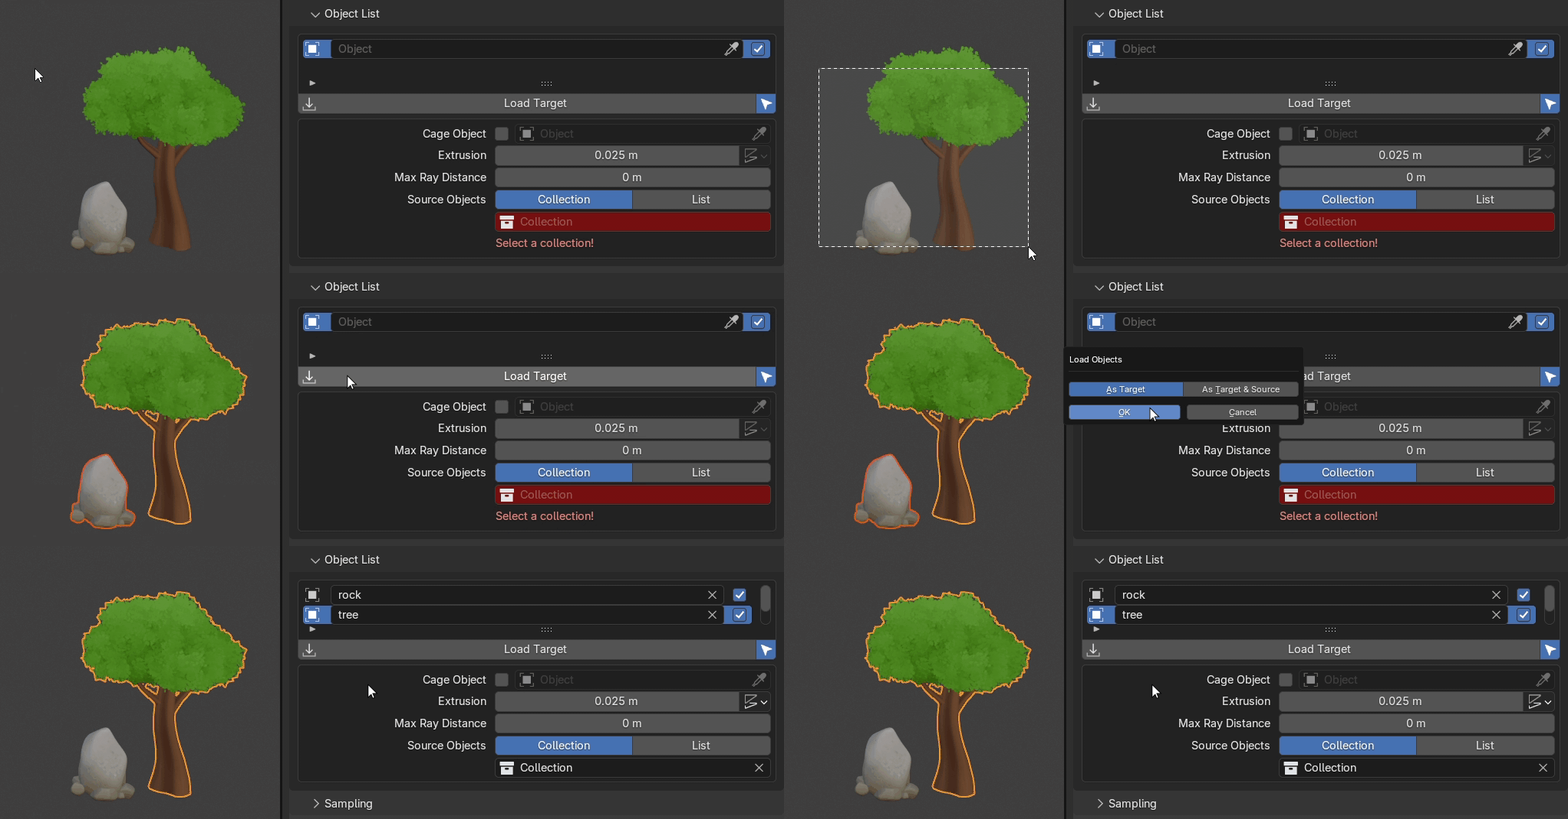
Bake textures from source to target objects using the default method of selecting the objects in the viewport, or the advanced method of constructing a list of target objects with their corresponding source objects, extrusion, and other source to target settings for each, before baking.
Use many smart tools to streamline your workflow by setting the cage and source objects automatically based on the target object's name, generating cage objects, or visualizing the set extrusion value.
Enable the location copy option to snap the source objects to the target object's location during the bake, making object selection easier and avoiding object overlap.
Bake normal and displacement textures from the multiresolution modifiers, with the modifiers automatically removed from the baked object versions after baking, leaving them set up and ready.
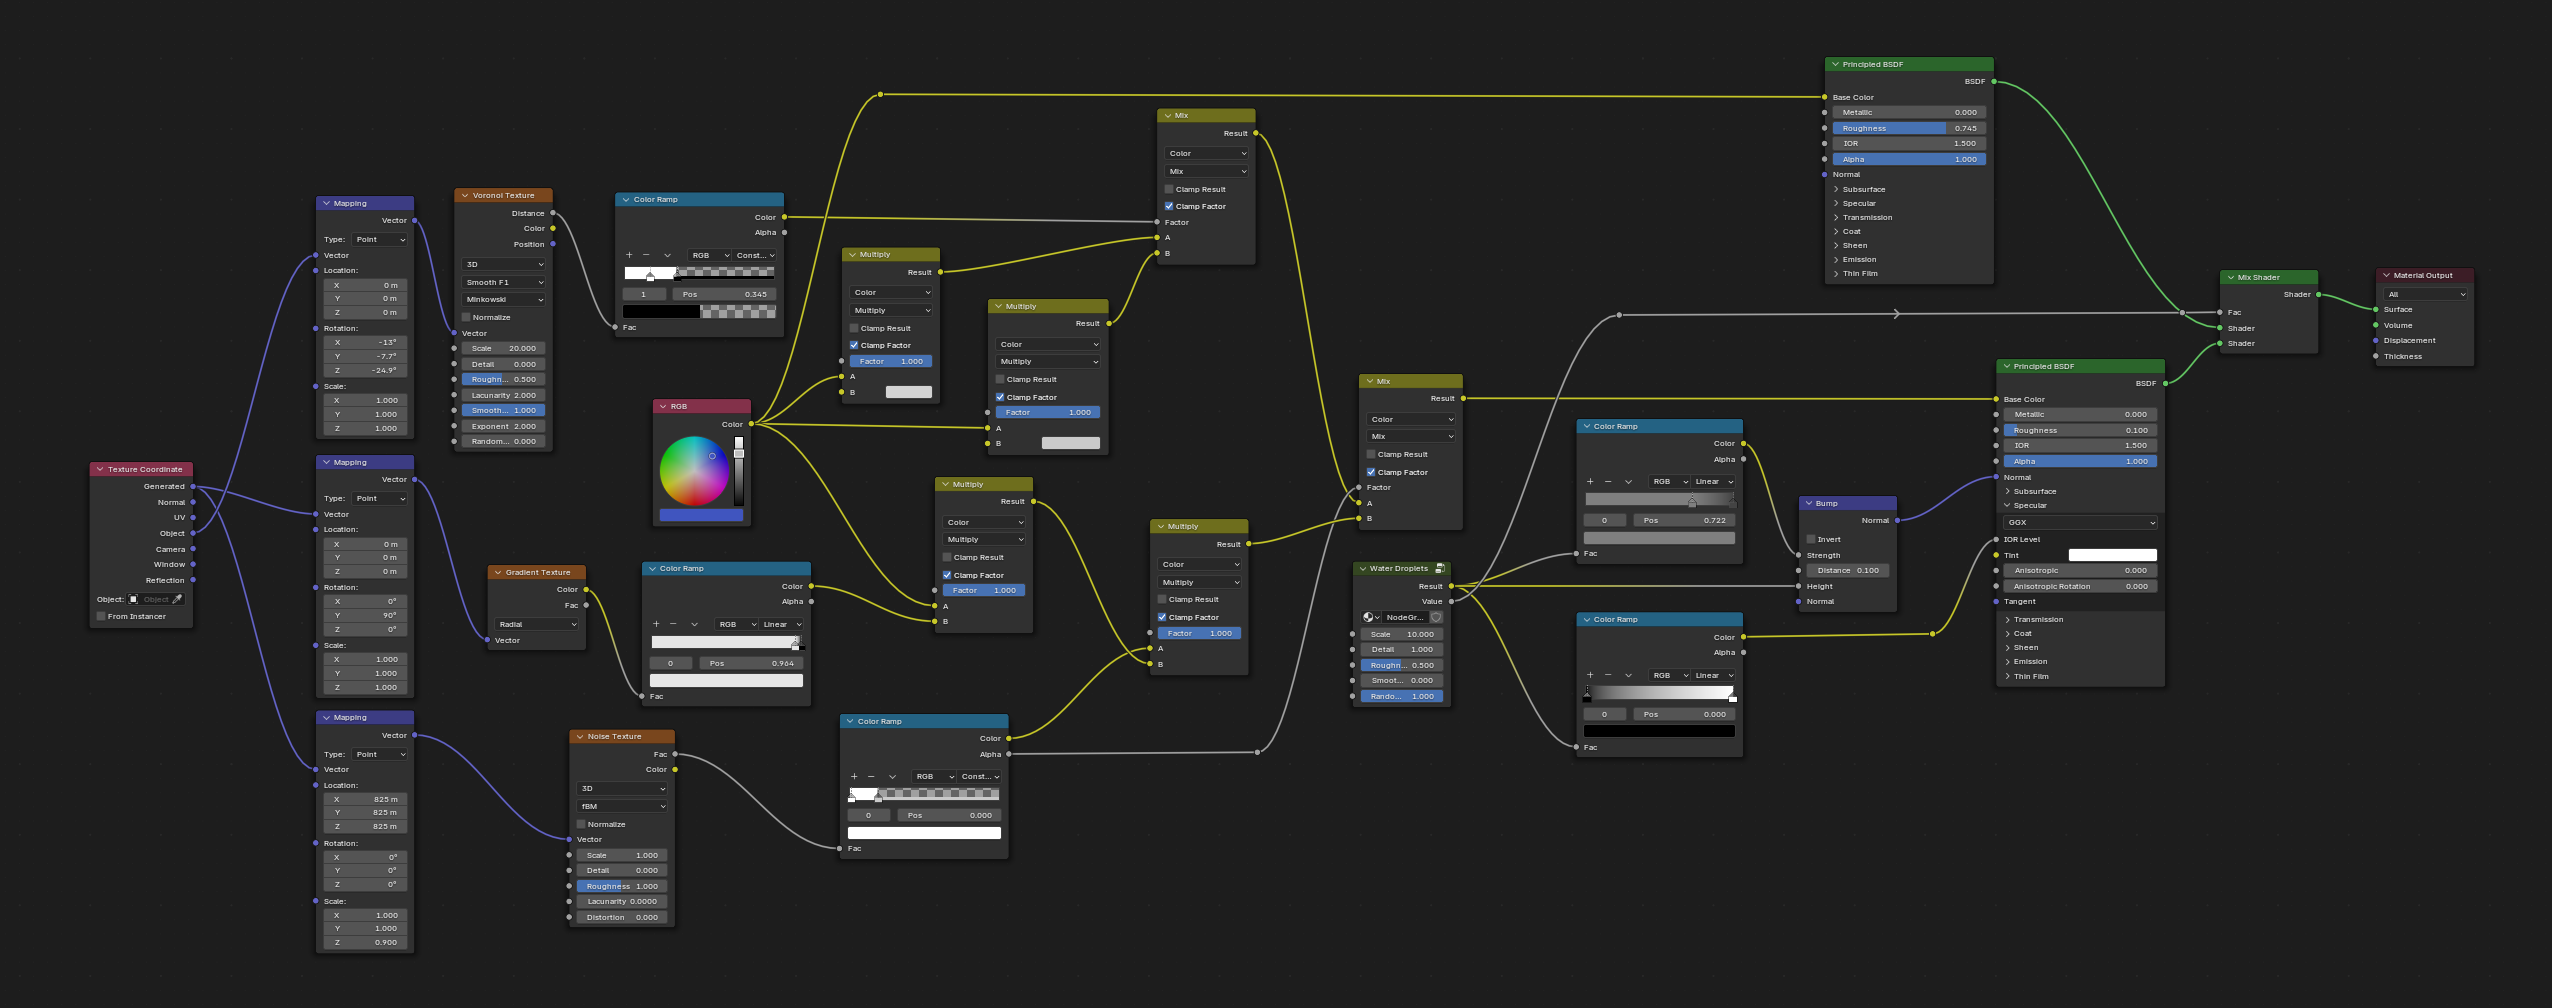
Bake both simple and complex materials the same way. Objects can have multiple materials, with both simple and advanced node setups. Use node groups and multiple shaders, mixing and combining them.
Use shader nodes other than the Principled BSDF. While the shader texture maps are designed around the Principled BSDF, other shader nodes are also supported for baking, some fully and others partially, depending on the shader's input sockets.
When a shader node has matching input sockets with the Principled BSDF node, the matching sockets can be baked using the same texture map used for baking the input sockets of the Principled BSDF node.
Keep using Blender while the textures are being baked, Blender won't freeze! Follow the baking progress in the queue panel, easily cancel or pause the process at any time. Track what is currently being baked, what has already been baked, and what is still pending.
Set any of the UV maps of the objects as the target UV for baking textures, opening up the possibility to use different UV maps in the shaders or to rebake textures from one UV to another.
Unused UV maps can also be removed from the final objects, keeping only the one the textures were baked to. Objects without a UV map will have one generated via Blender's Smart UV Project.
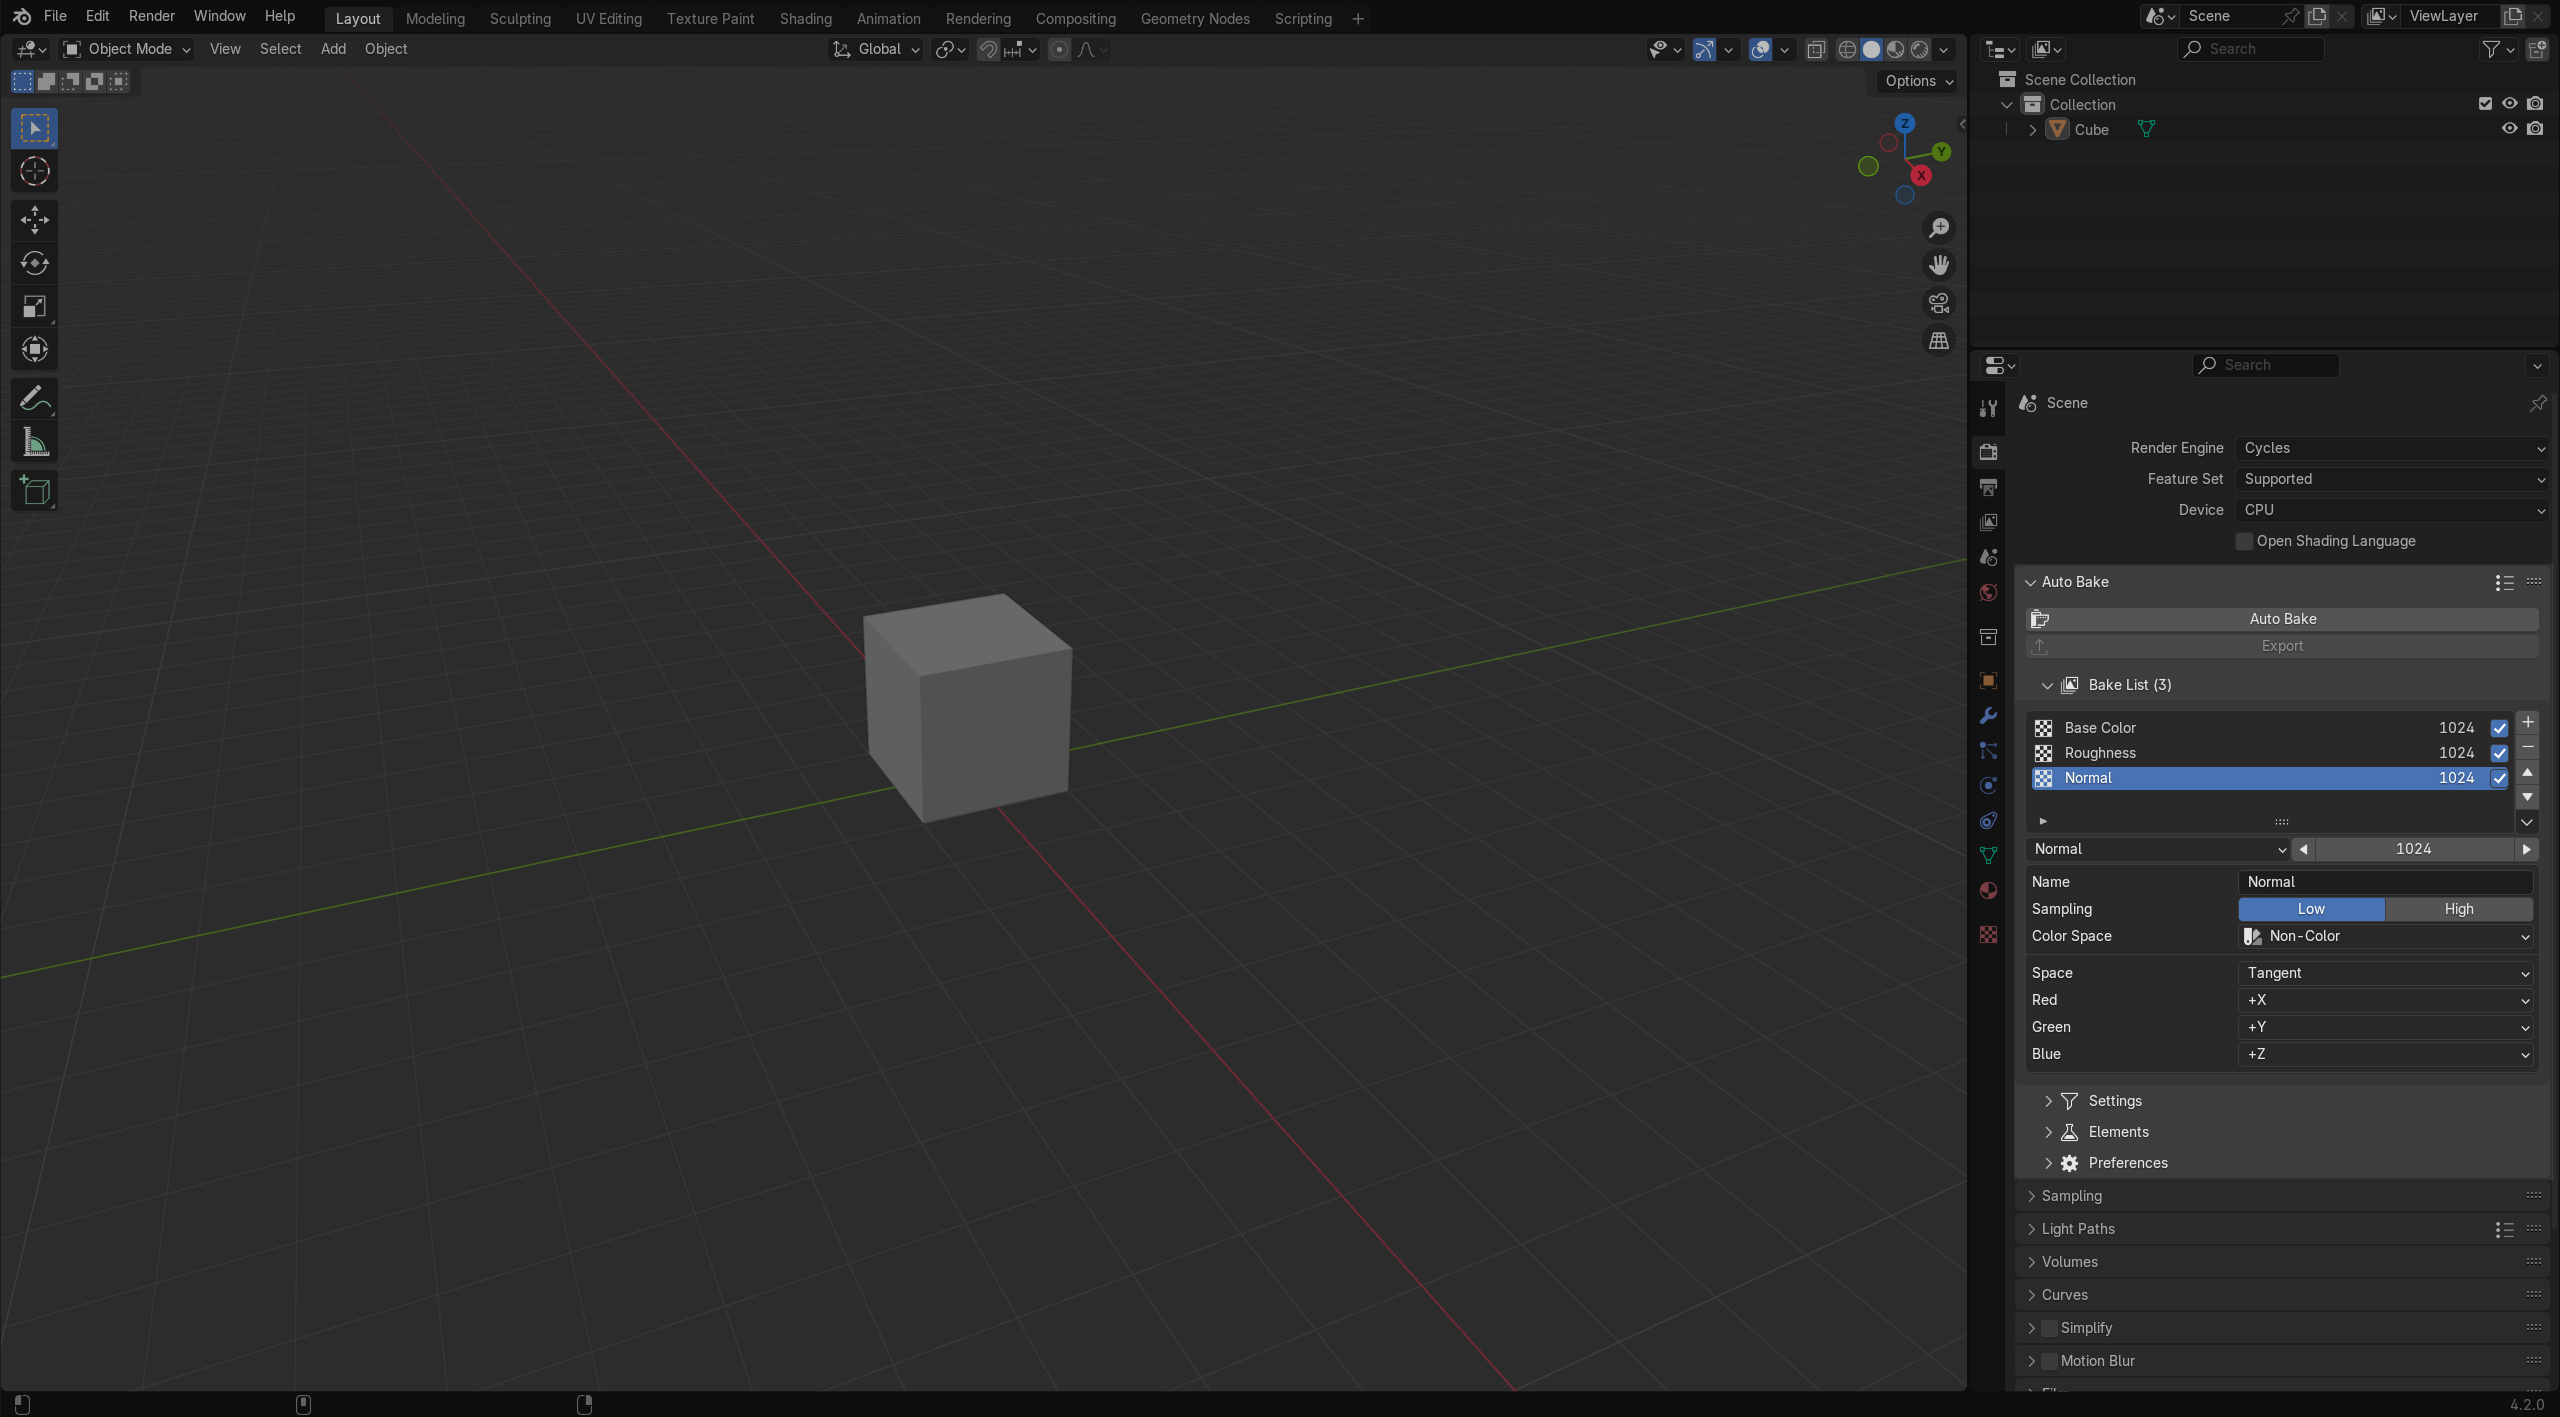
Choose the workspace you prefer! Use the add-on from the Properties Render section, the 3D Viewport's sidebar, or the Shader Editor's sidebar menu. Select your preferred one and switch whenever you like!
Save your settings and options as custom presets and access them from any of your other Blender projects. Customize which properties to save when creating the presets and which ones to exclude.
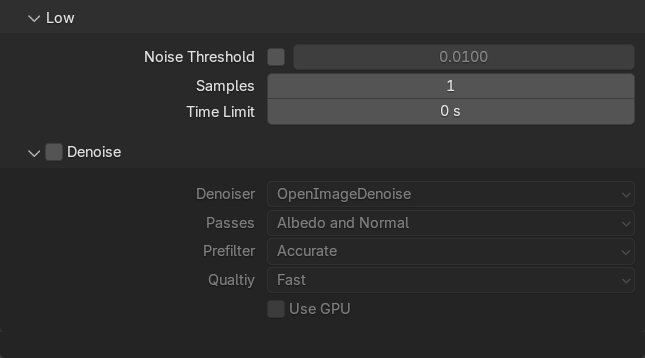
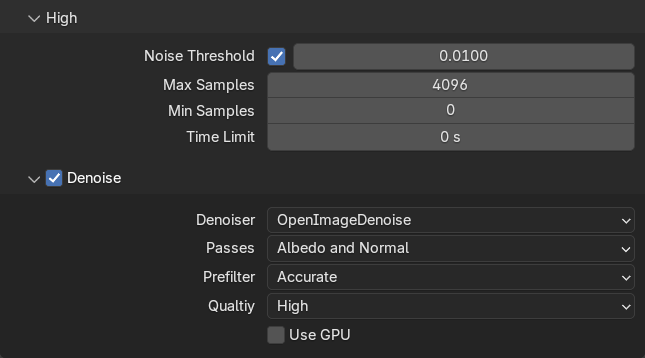
Use the split sampling option to bake only textures that require higher sampling settings for good results, optimizing both time and resources. While some textures need high sampling for quality, most achieve identical results with lower sampling settings.
Allow the color space to be automatically managed and set based on the texture maps for all baked textures. You can also adjust at any time which color space to assign to each texture map.
Customize how the textures are named by editing the basic name elements for quick changes, or use the name structure editor for more advanced modifications, which will be shared across all .blend files.
Enable the packing option to embed baked textures into the .blend file, or use the fake user option to automatically assign one to the textures, both ensuring they won't be lost, even if not exported.
Edit whether to create an alpha channel, and set the default color to use when creating the textures. This color will appear on areas with no UV islands and where nothing is baked.
Get guaranteed support! Contact me anytime here, or join the Discord server to open a ticket or receive help from the members. Alternatively, check out the documentation for detailed breakdowns and examples of the buttons and options, with clear explanations.
Check out what existing users think and read the reviews they leave after using Auto Bake. You can also see the staff pick Auto Bake received from the Blender Market team in its first versions.
Join the affiliate program if you're a creator and share Auto Bake with your audience through posts, blogs, videos, spotlights, tutorials, and more. Become an affiliate by following any of these methods:
- Fill out the affiliate form, and I will reach out to you using the email address you provide
- Email me directly at imtsybe@gmail.com
- Contact me on Discord by either creating a ticket or sending a direct message
Get access to a promotional kit, including videos and images, that can be freely used in content about Auto Bake. The kit is available for download here!


